![Phanteks P400]()
Our comprehensive PC build guide will walk you through step-by-step in putting together your own computer to save money.
Building a PC in 2017 remains to be a daunting endeavor for many consumers. Even if you've never picked up a screwdriver and tossed together a few components, this comprehensive guide will make you a PC building master in no time at all.
The best part about building desktop PCs is that it's a skill pretty much everyone will be able to learn through experience. It's also a fairly straightforward process too - the chances of messing up or really causing problems for yourself are slim. The more important part of actually building a PC is picking the parts.
Before you even attempt to install components, it's paramount that one orders internals that are compatible with one another and will provide enough computing power to accomplish desired tasks. For gaming, you'll want to go for an unlocked CPU and high-end GPU, while those who wish to simply watch videos and check social media will only need more affordable components.
Picking the right parts
![Intel Motherboard]()
The most important part to get right is picking parts that do what you want and work with each other. The wrong parts or ones that happen to be incompatible with one another may cause issues, damage to other components or require time to be wasted with returning said products to retailers.
Looking inside a PC case can reveal a mess of electronics to someone who doesn't know what does what. Fear not, as we've got you covered when it comes to picking the right parts. Check out our best guides for each component and then check for compatibilities using our brief checklist below.
Best choices
We've put together guides for each component, showcasing what we believe to be the best options when it comes to PC building.
Compatability
![GPUs]()
Here's what you're generally looking for with components:
- Case: Cases come in different form factors, depending on the size of PC you wish to build.
- PSU: Needs to supply enough power (500W is usually a good value).
- CPU: You have the choice of AMD and Intel for desktop processors. Take a look at our best guide and take note of the socket they use as you'll need to match the socket for the motherboard.
- Motherboard: A motherboard simply needs to match the same socket type of the CPU. Chipset and other features are all down to pricing and preference.
- RAM: The faster the frequency, generally the better the RAM, though you'll need to make sure your motherboard can support the same clock speed or it'll be limited. Most new boards support DDR4.
- Storage: Entirely down to personal requirements, though we always recommend an SSD for installing Windows.
- GPU: This is optional and is only really needed if you plan to do some gaming or intensive workloads.
But wait! Even after double and triple checking that everything will place nicely together, it's recommended you use an automated tool that checks entered components against a database to confirm that there are no conflicts. It's absolutely worth firing up PC Part Picker, entering in all your components and then checking everything over.
Not only does the website allow for comparison between other options available - potentially allowing for even more savings to be made - it will also provide warnings for any issues detected.
Trusted tools
The bare essentials you'll need to build a PC including the following:
- Philips (preferably magnetic) screwdriver.
- LED light source.
- Flat workspace (not your carpet!).
- Anti-static mat.
- Anti-static wristband.
![Anti-static Wristband]()
Build it better
We've arranged this guide in an order that makes sense in most cases, though it may not be optimal for your PC case. You'll need to check the layout and see which components will need to be installed first, but usually, the power supply is the best way to go. You'll first want to put aside the box/bag of screws that come with the case as we'll need these for the steps ahead.
- Installing the PSU
- Installing the CPU
- Installing the RAM
- Installing a motherboard
- Installing storage drives
- Plugging everything in
- Adding case fans
- Installing a GPU
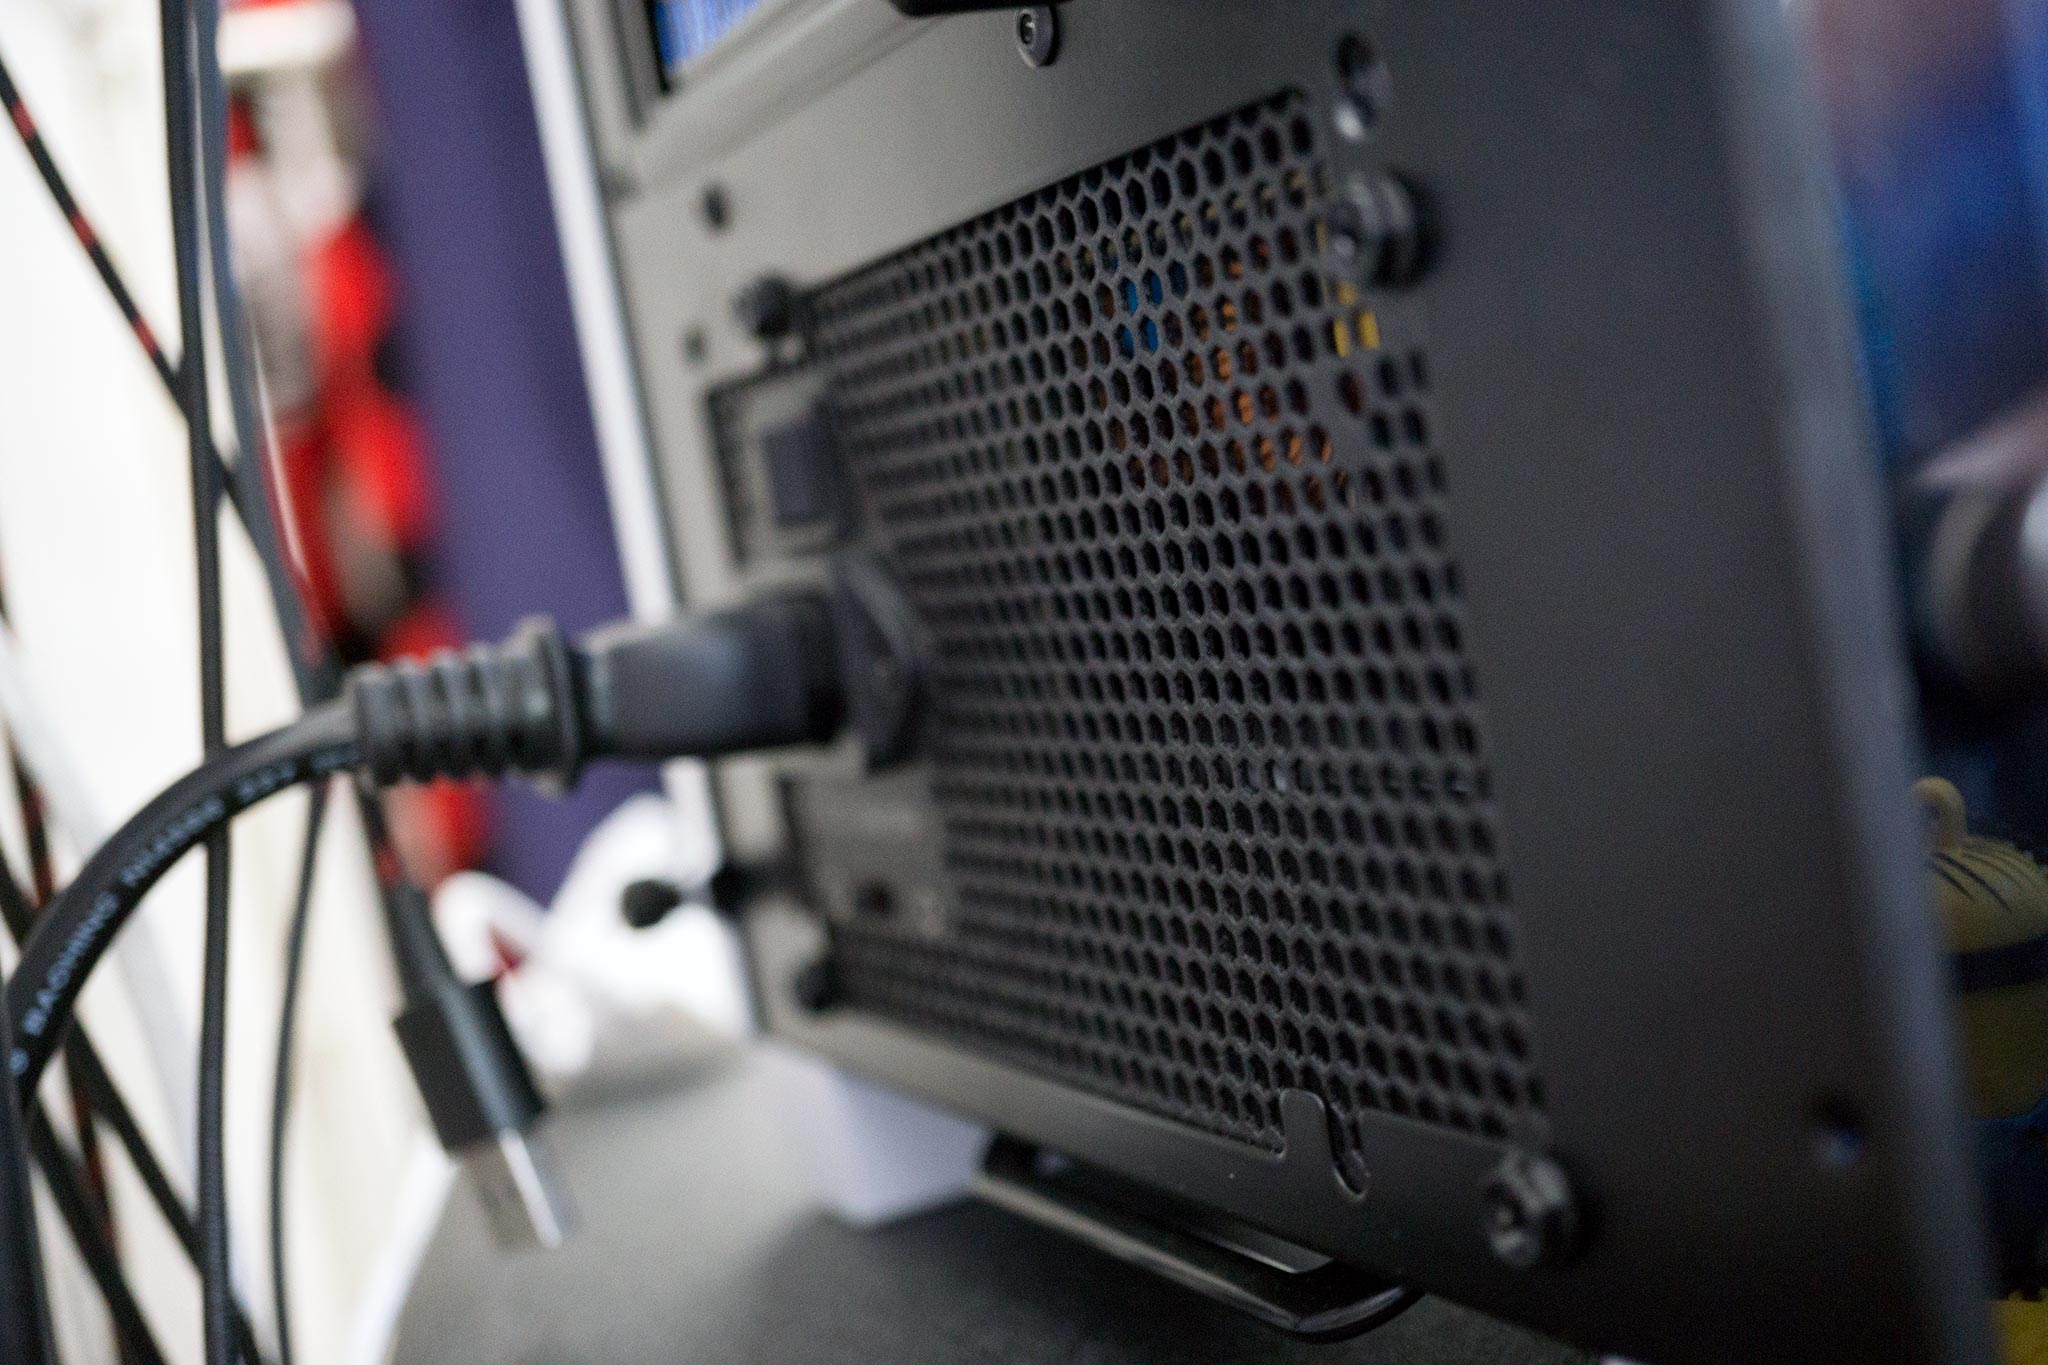
Installing the PSU
The PSU is the most important component of any PC. It provides the juice required for all the computing magic to take place. Depending on the case you've purchased, we'll need to install the unit with the fan facing up or down. To determine which is most optimal, check if you have a vent at the bottom of the case. If so, face the PSU fan downwards.
- Slide the PSU into the mounting area with the fan facing up or down.
- Screw in bundled screws (should come with the case) in the four holes at the rear of the case.
- Ensure the unit is switched off using the rear switch.
- Plug the PSU into a free socket to ground the PC.
- Bind all the power cables coming out of the PSU together and put them to one side.
![PSU]()
Depending on the PSU you've purchased, it may be one of the following:
- Fully modular: No cables are permanently connected to the PSU.
- Semi-modular: Some cables are permanently fixed, usually ATX and CPU power.
- Non-modular: Every cable is connected and cannot be removed from the PSU.
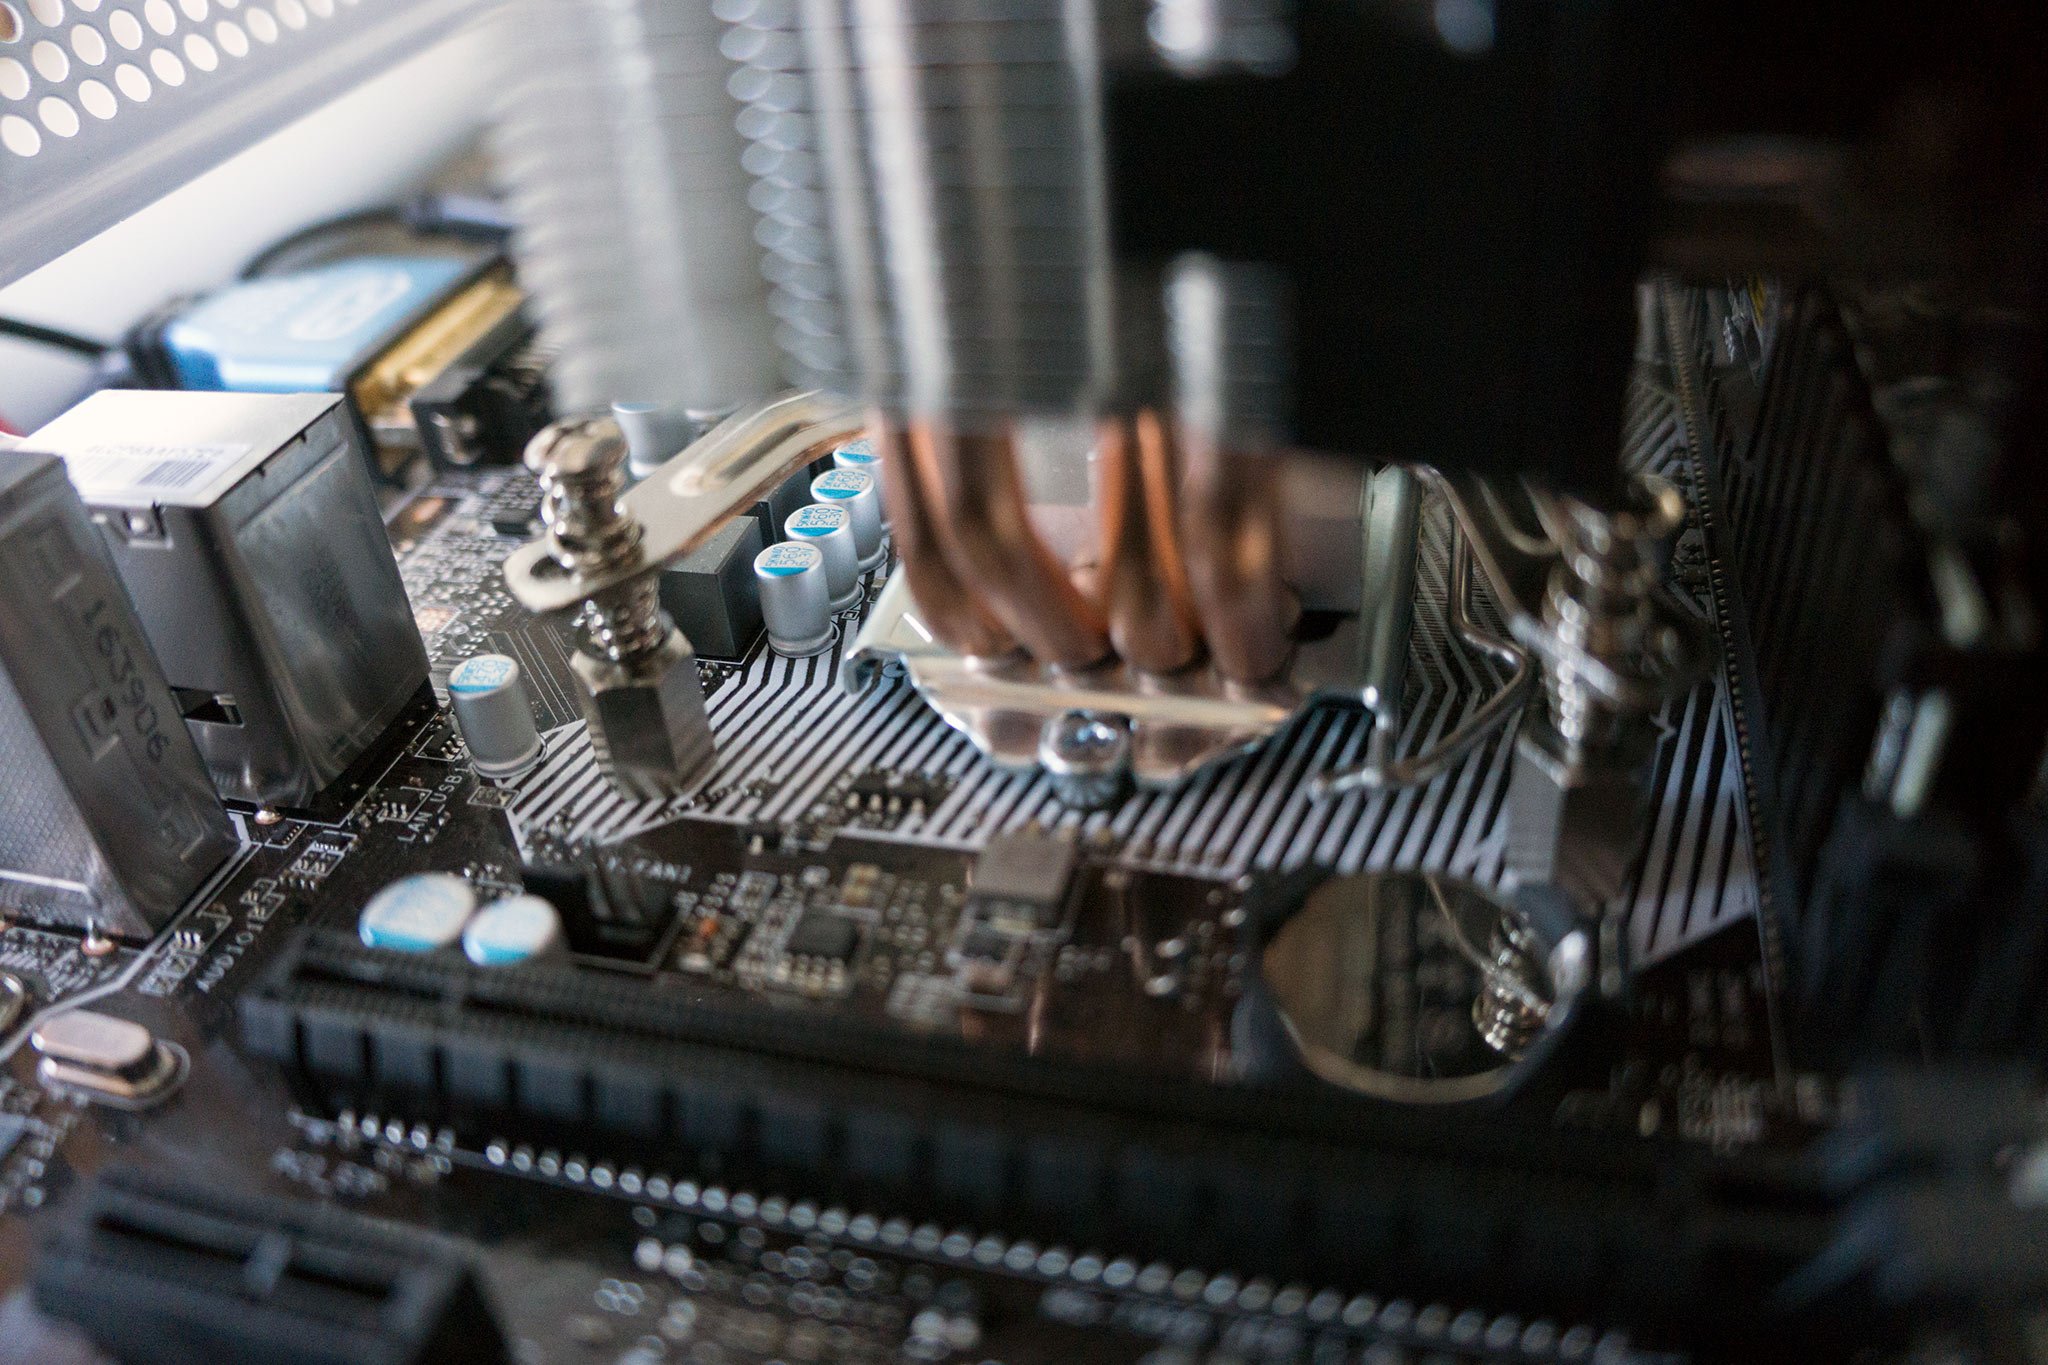
Installing the CPU
We can now insert the CPU into the motherboard. This is a super-easy process, regardless as to whether you're rocking an AMD or Intel chip.
- Unpack the motherboard from its packaging.
- Place the motherboard atop its cardboard box. (It's safe here.)
- Open the CPU latch.
- Remove the plastic cap.
- Insert the CPU, matching notches and indicators to the socket. (Do not apply pressure, it should lie flush without force.)
- Close the latch to secure the CPU. (This step will require some amount of pressure.)
![Intel CPU Paste]()
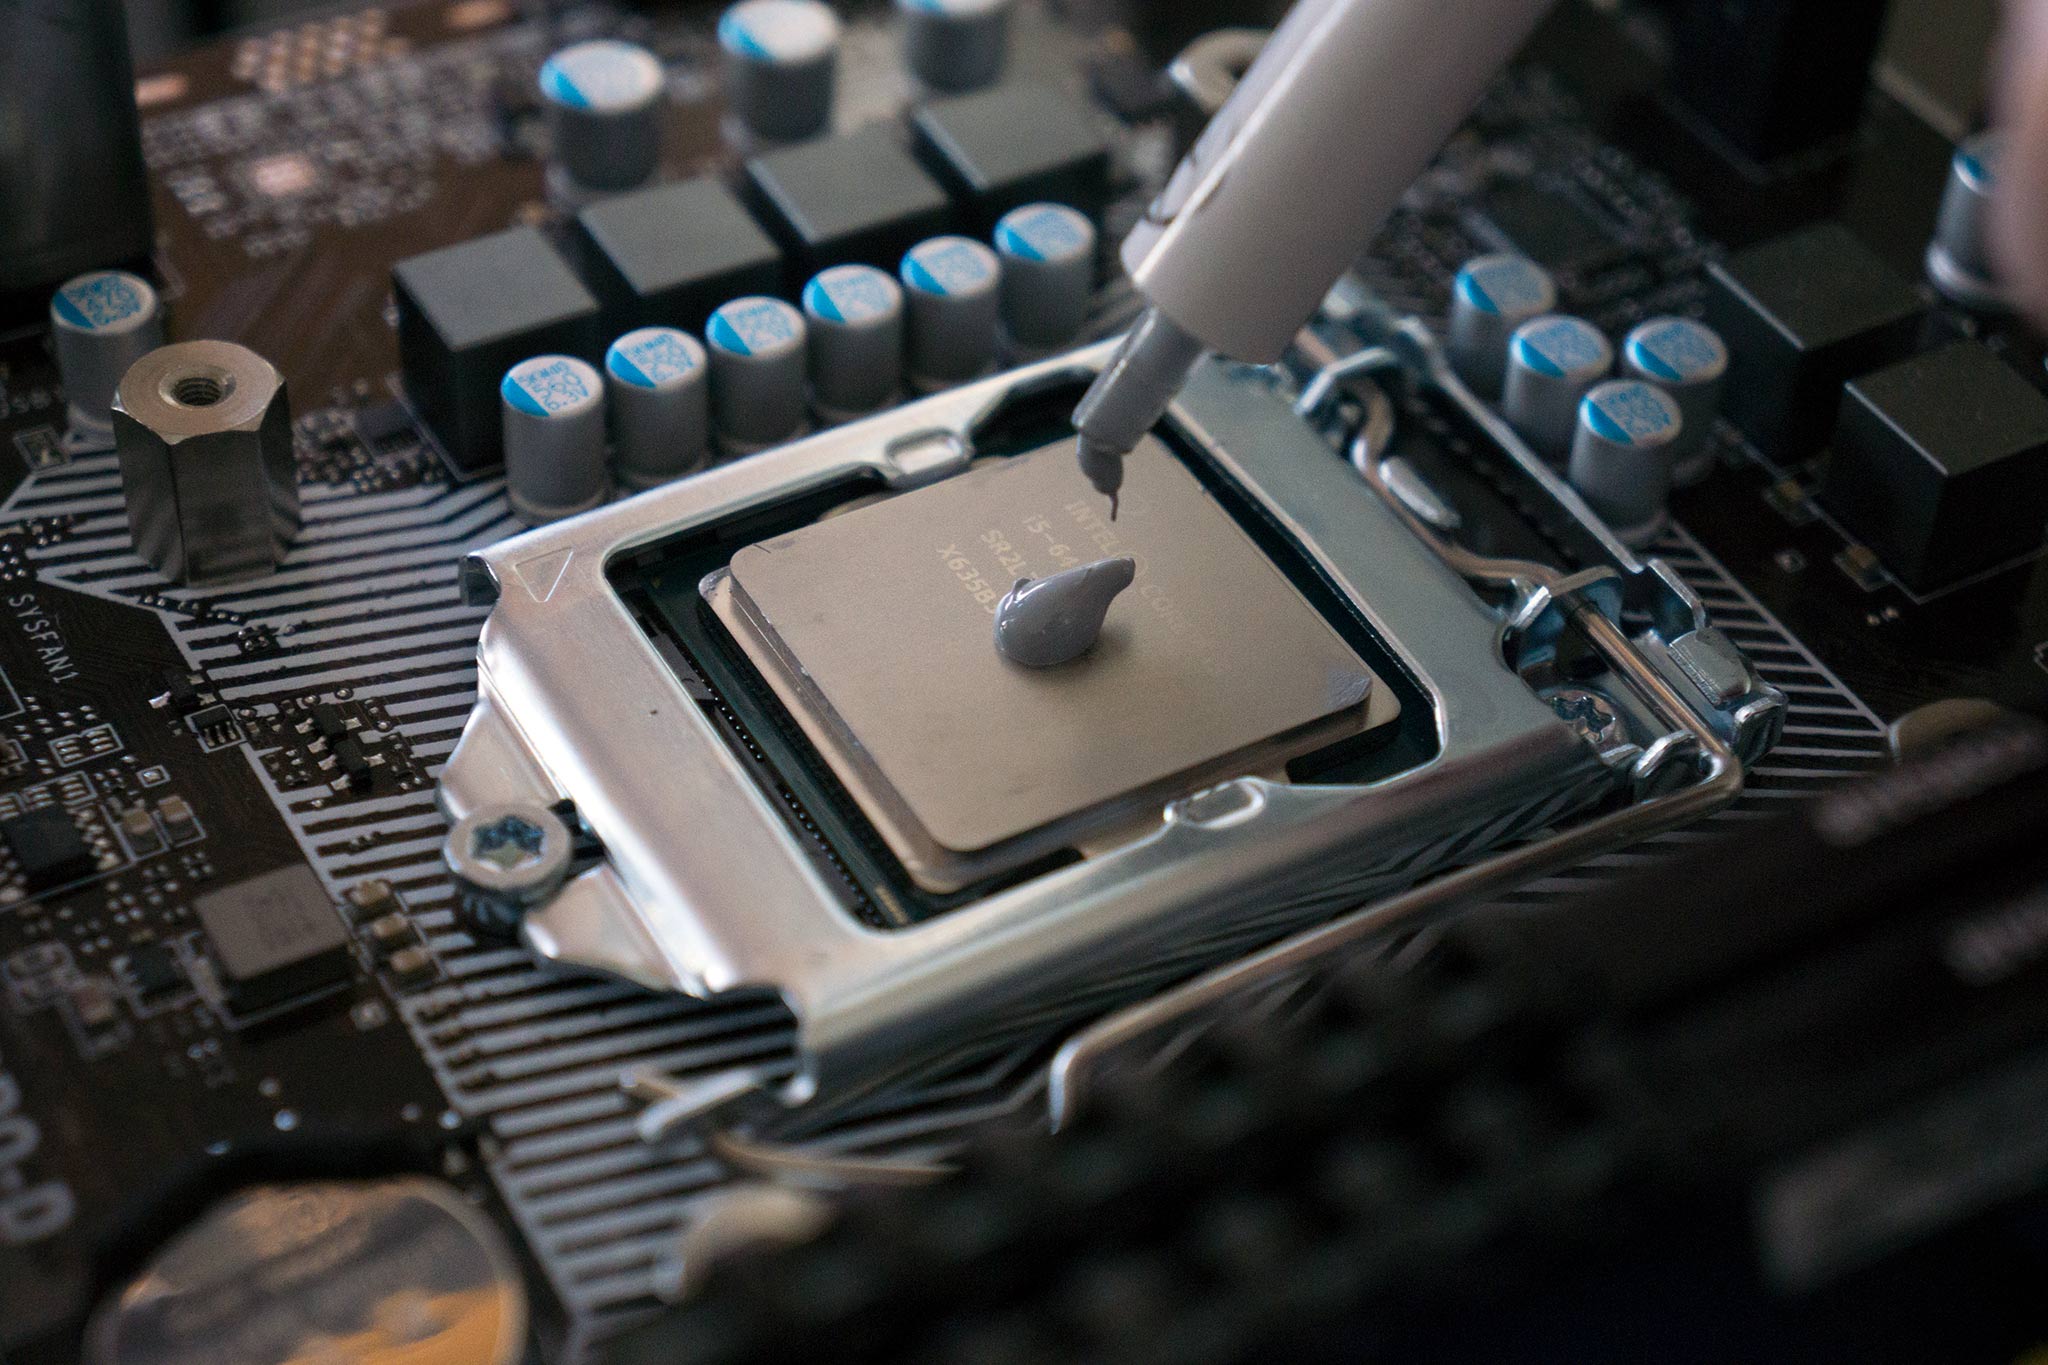
Now we can use the thermal paste and attach the CPU cooler to complete everything processor-related. Depending on the cooler you've purchased, you may have a layer of thermal paste already applied. If not, we'll need to do this before installing the cooler. (Tip: less is more.)
Especially with aftermarket coolers - both water and air - you'll need to pay close attention to the manual that comes with the product. This is why it's better to do all these steps with the motherboard outside the PC case for easier handling.
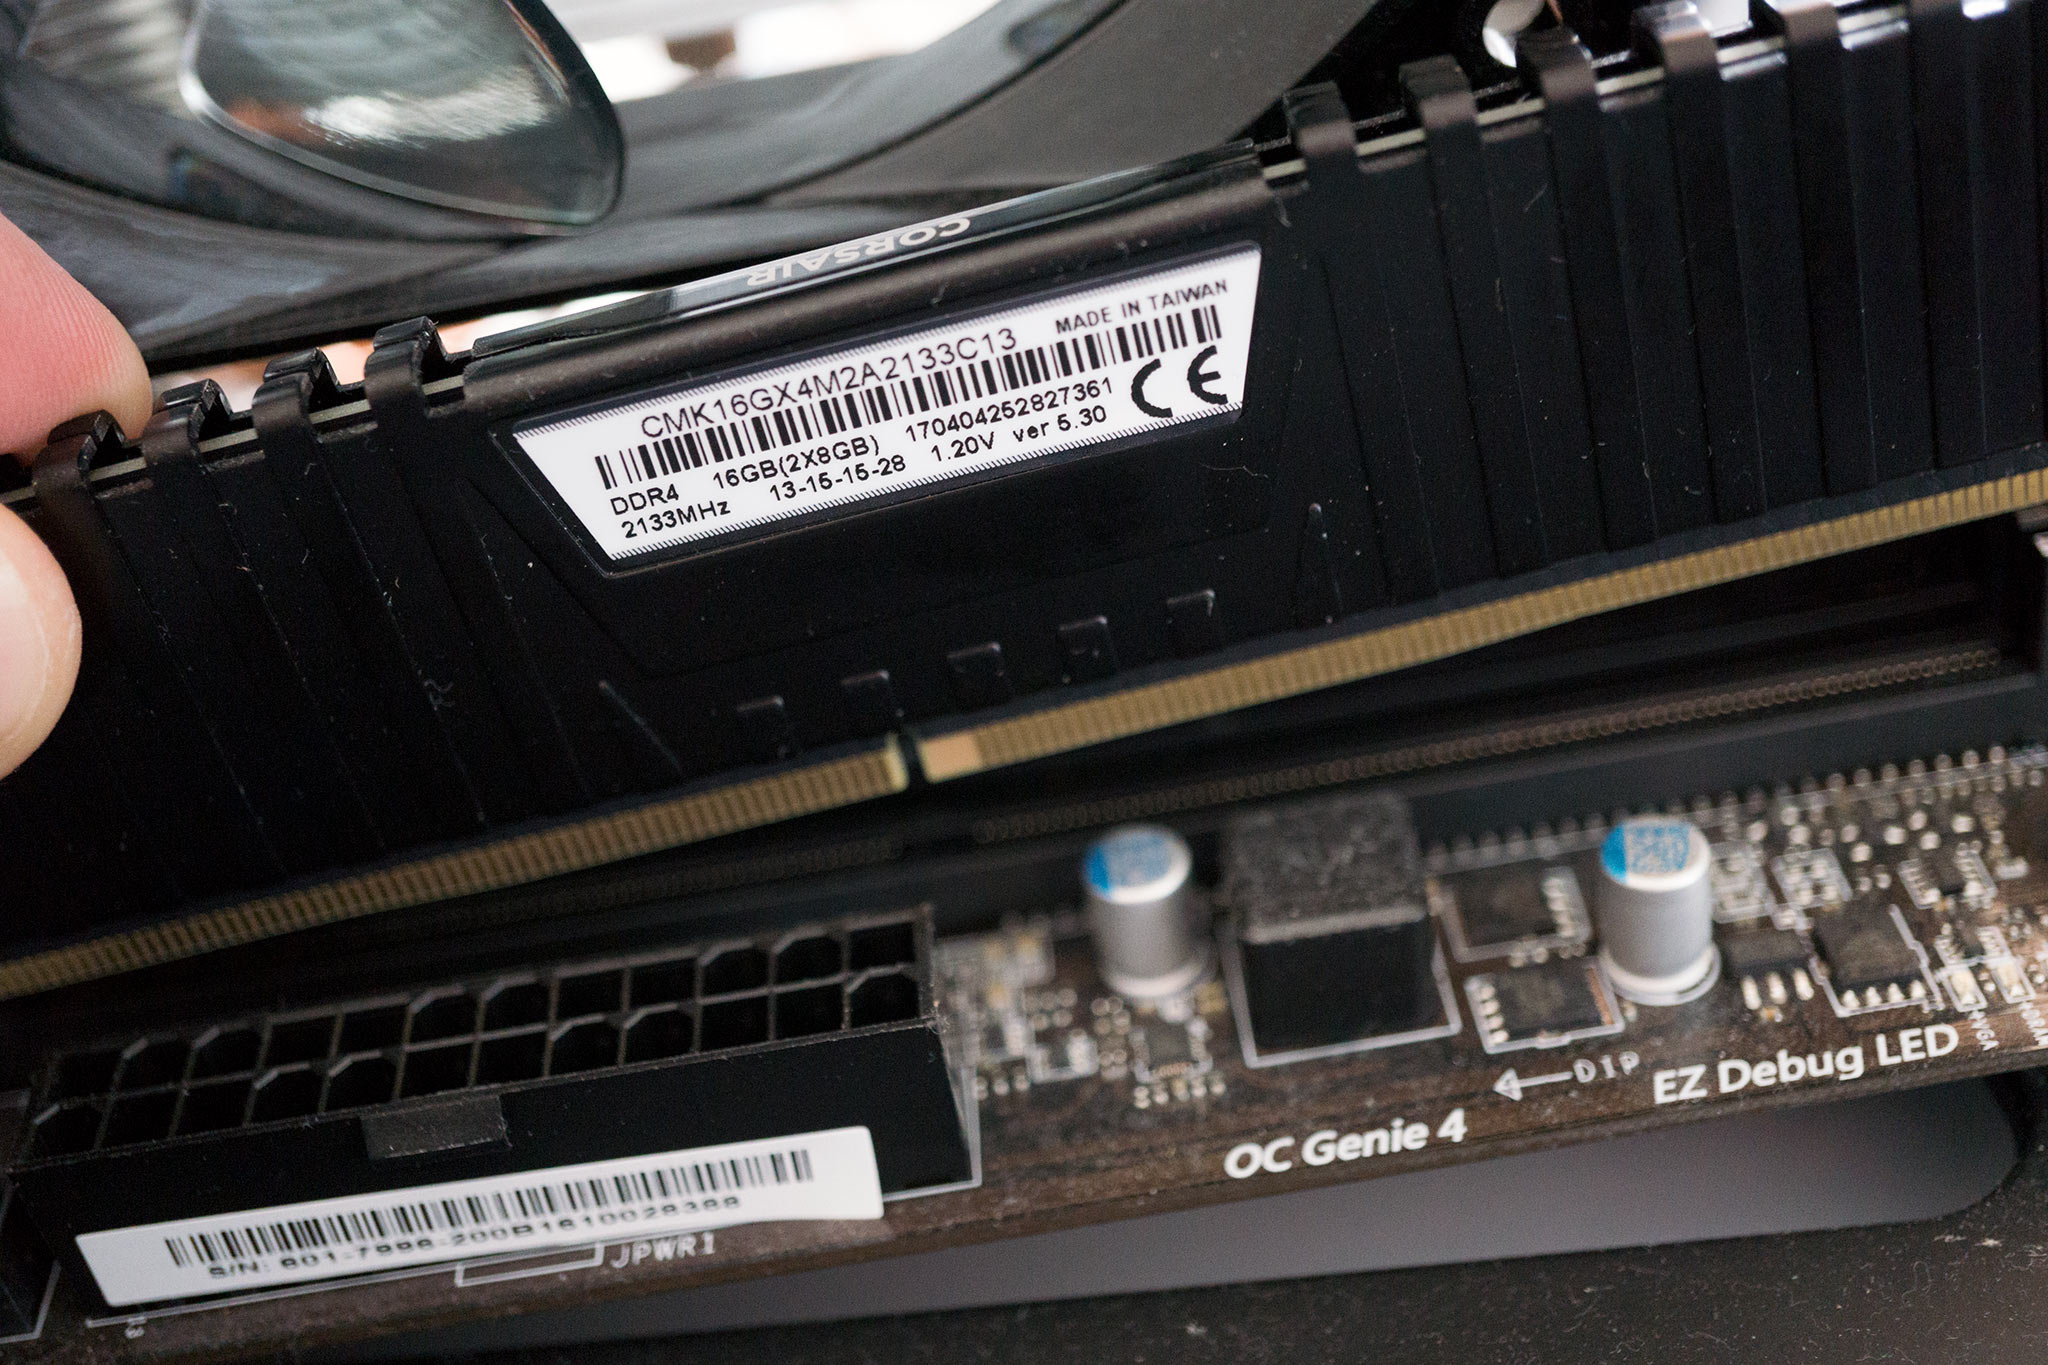
Installing the RAM
![RAM]()
RAM is a sensitive component and as such should be handled with care. It's recommended that contact is avoided with the contact pins on the underside of each module. The RAM slots on a motherboard are located to the right of the CPU but do check with the motherboard manual as to which RAM slots are to be used, depending on how many sticks you have. A motherboard with four slots or more, you'll want to populate slots one and two first.
- Unclip the RAM locks on the motherboard module slots.
- Match the RAM module notches to those found in the slots on the motherboard.
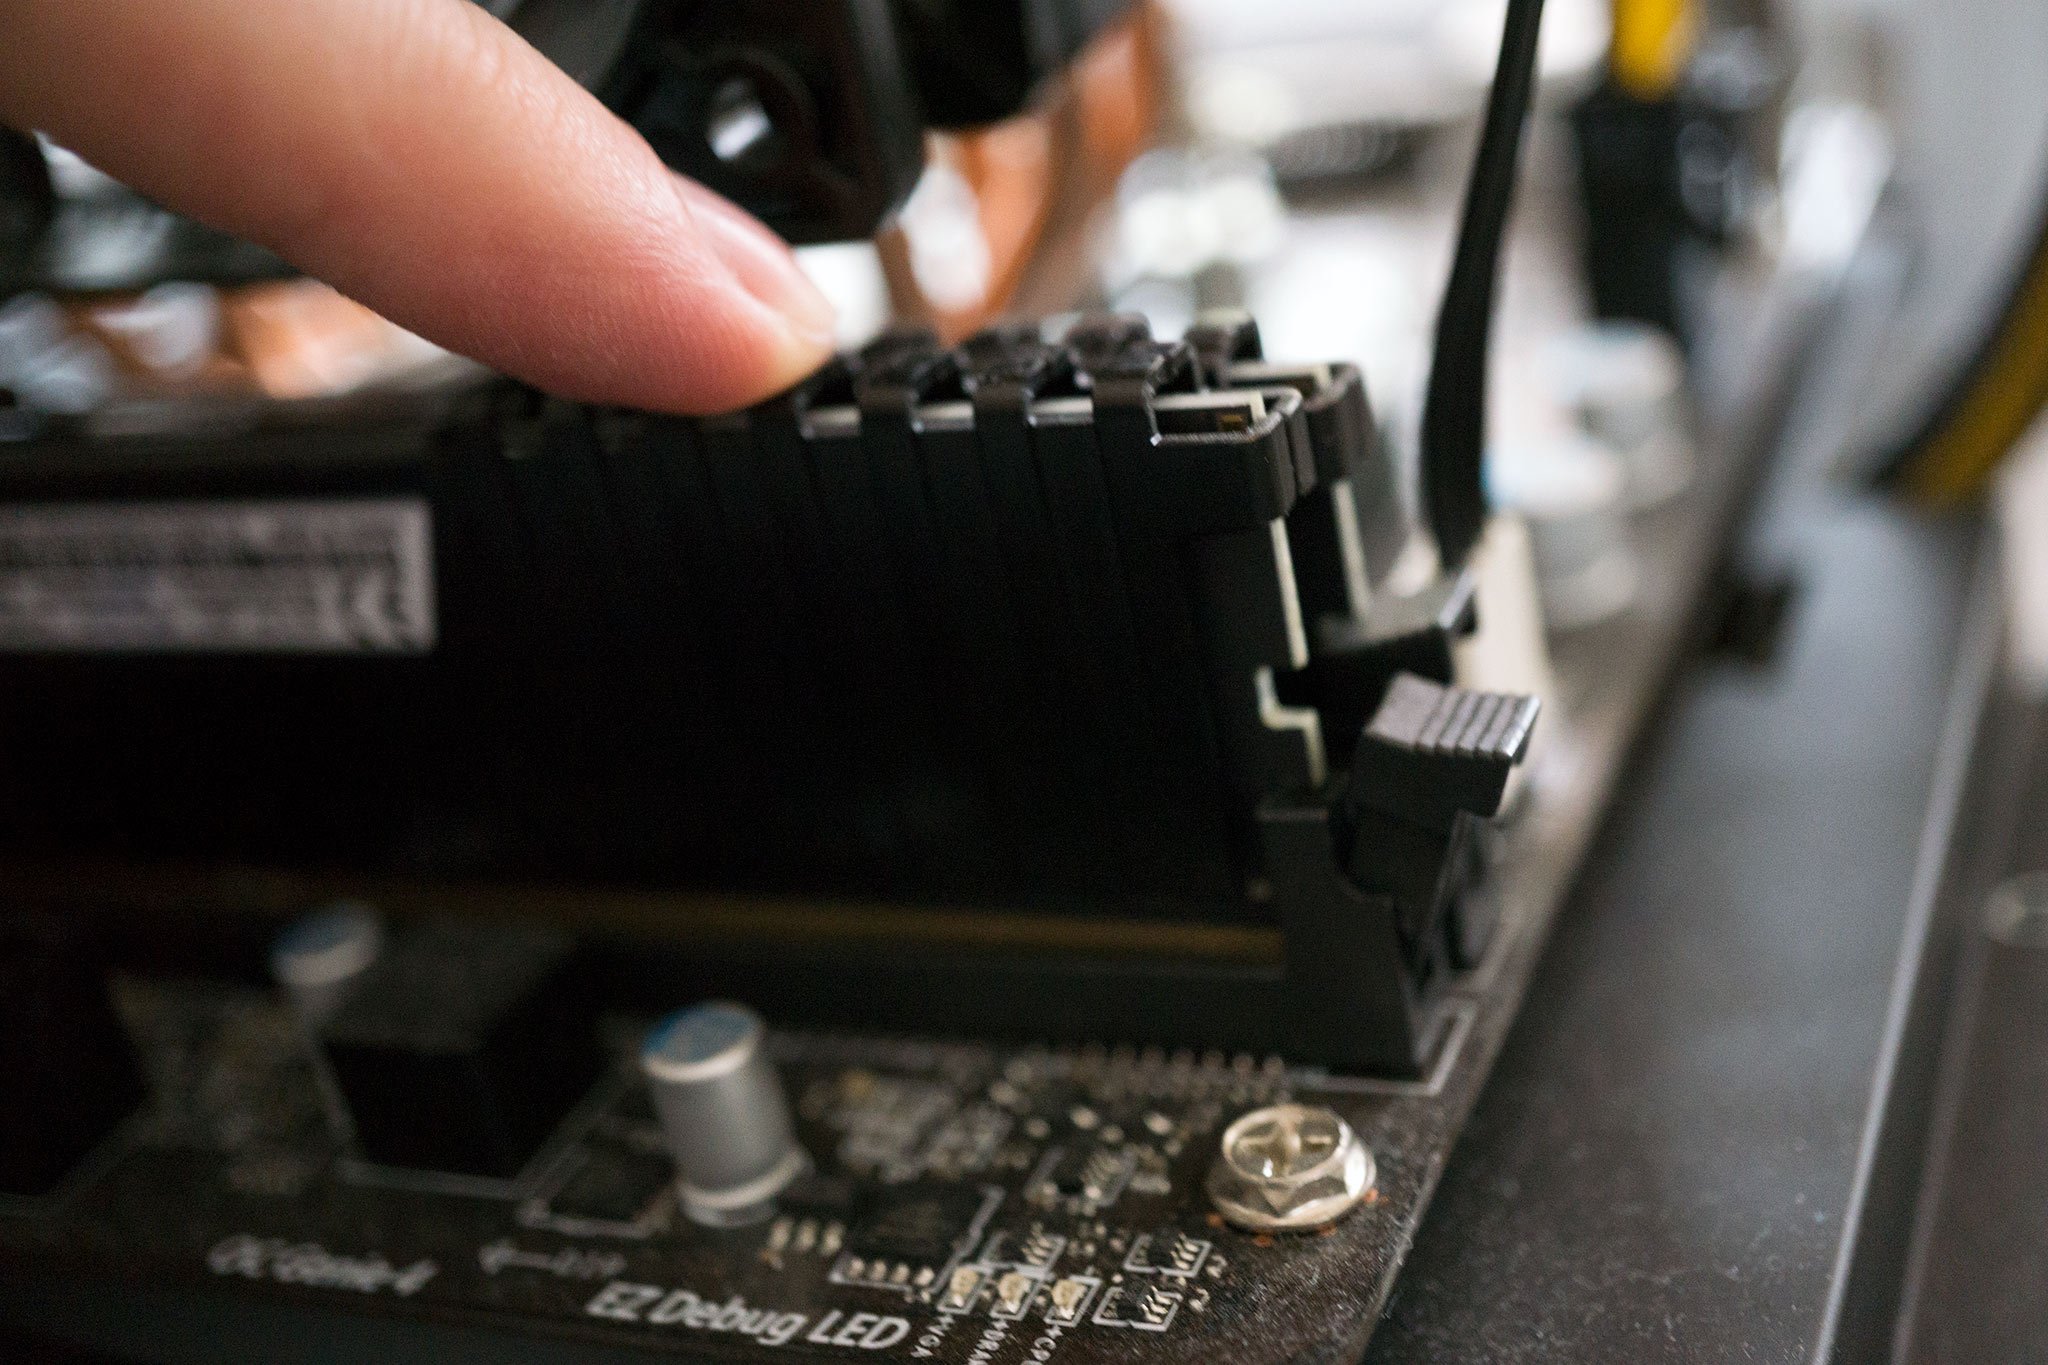
Insert the module carefully, using light even force across the stick.
![RAM]()
- After it inserts into the slot, push down on either side of the RAM module until it securely clicks into place.
Installing the moterboard
With the CPU, the cooler, and RAM modules installed, the motherboard is ready to be installed and screwed to the back plate inside the case. First, we need to install the I/O shield, a long piece of metal that has cutouts for the all the rear ports and connections. This is an optional but recommended accessory that helps provide electromagnetic interference (EMI) protection.
- Place the I/O shield to the rear cutout in the PC case and click into place. (This can be super-fiddly.)
Hover the motherboard atop the back plate to see where standoffs need to be screwed in. Different sizes need different holes.
Standoffs are the screws that are installed on the motherboard backplate, which then allows the motherboard to rest atop them and for screws to secure the board.
- Install the standoffs for the motherboard, if not already pre-installed. (Some backplates may feature labels next to holes to guide you.)
Lower the motherboard onto the standoffs.
![Motherboard]()
- Tighten the screws, but do not overtighten them — just enough to secure the board in place.
- Check the sides of the motherboard by lightly pulling to make sure every inch has been secured.
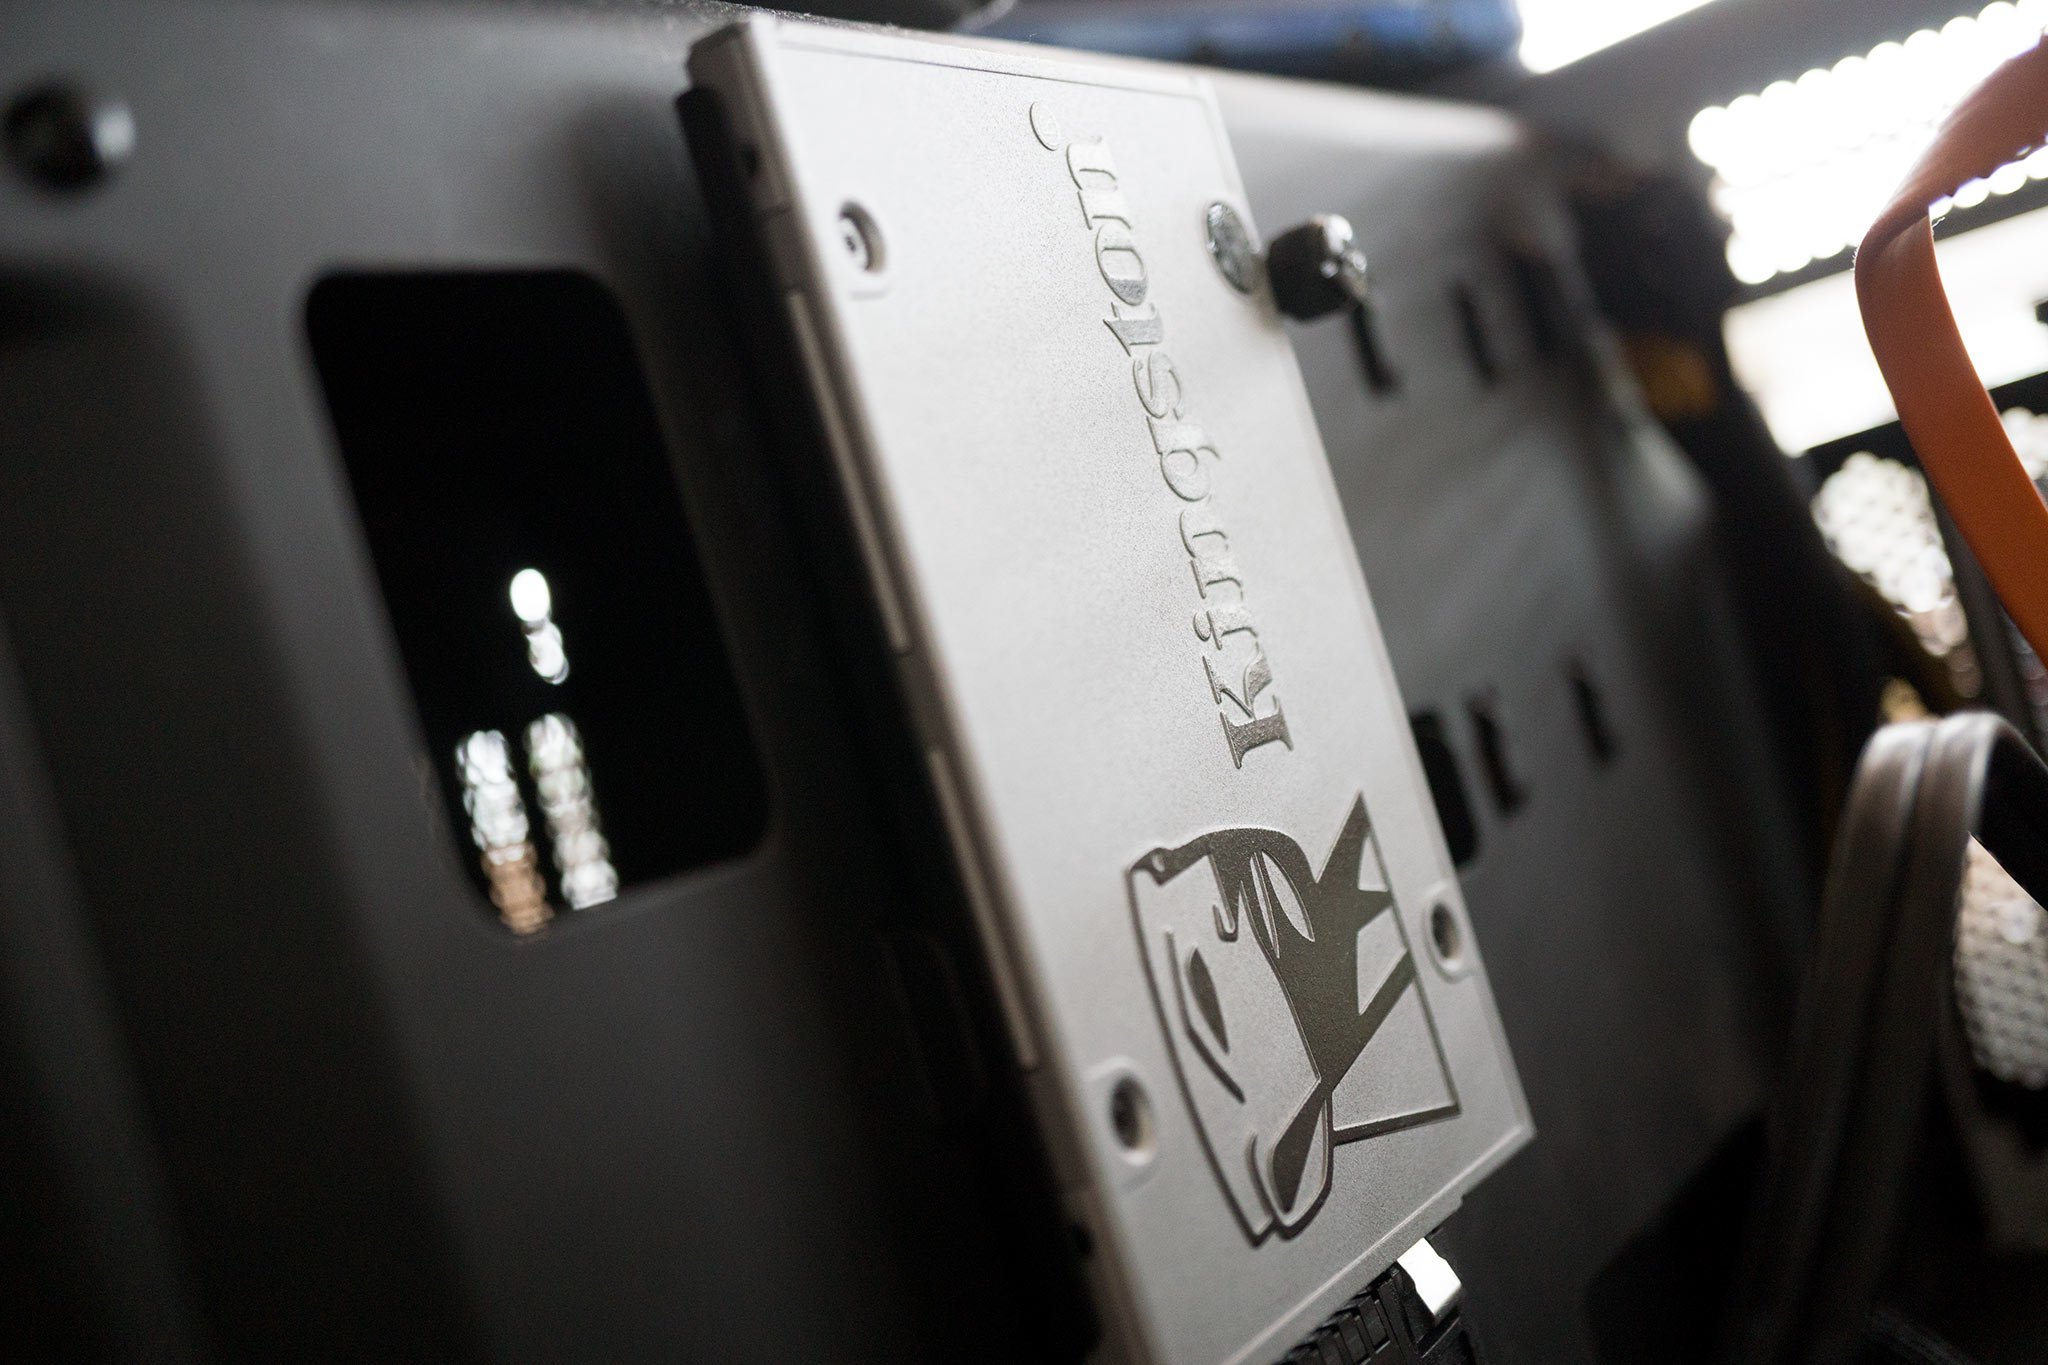
Installing storage drives
![SSD]()
Storage drives are important devices that hold not only the operating system but also all programs, personal media, and all other data. It's recommended to use an SSD (2.5-inch) drive for the main OS partition, which enables for quick booting and solid performance. Data can be stored on traditional (3.5-inch) mechanical drives.
Depending on the case and how drive bays are configured, 2.5- and 3.5-inch drives may be able to be installed at the same points or using dedicated brackets. Be sure to double check with the PC case manual. We'll go over how your PC case may have both configured below.
2.5-inch SSD
- Take the SSD bracket and attach the drive to it, lining up the screw holes.
- Screw in the drive using appropriate screws.
- Attach the bracket and secure it to the case.
3.5-inch HDD
- Extract the HDD bracket from one of the bays.
- Slide the mechanical drive into the bracket.
- Secure the drive to said bracket using screws or screwless mechanism.
- Slide the bracket and drive back into the bay.
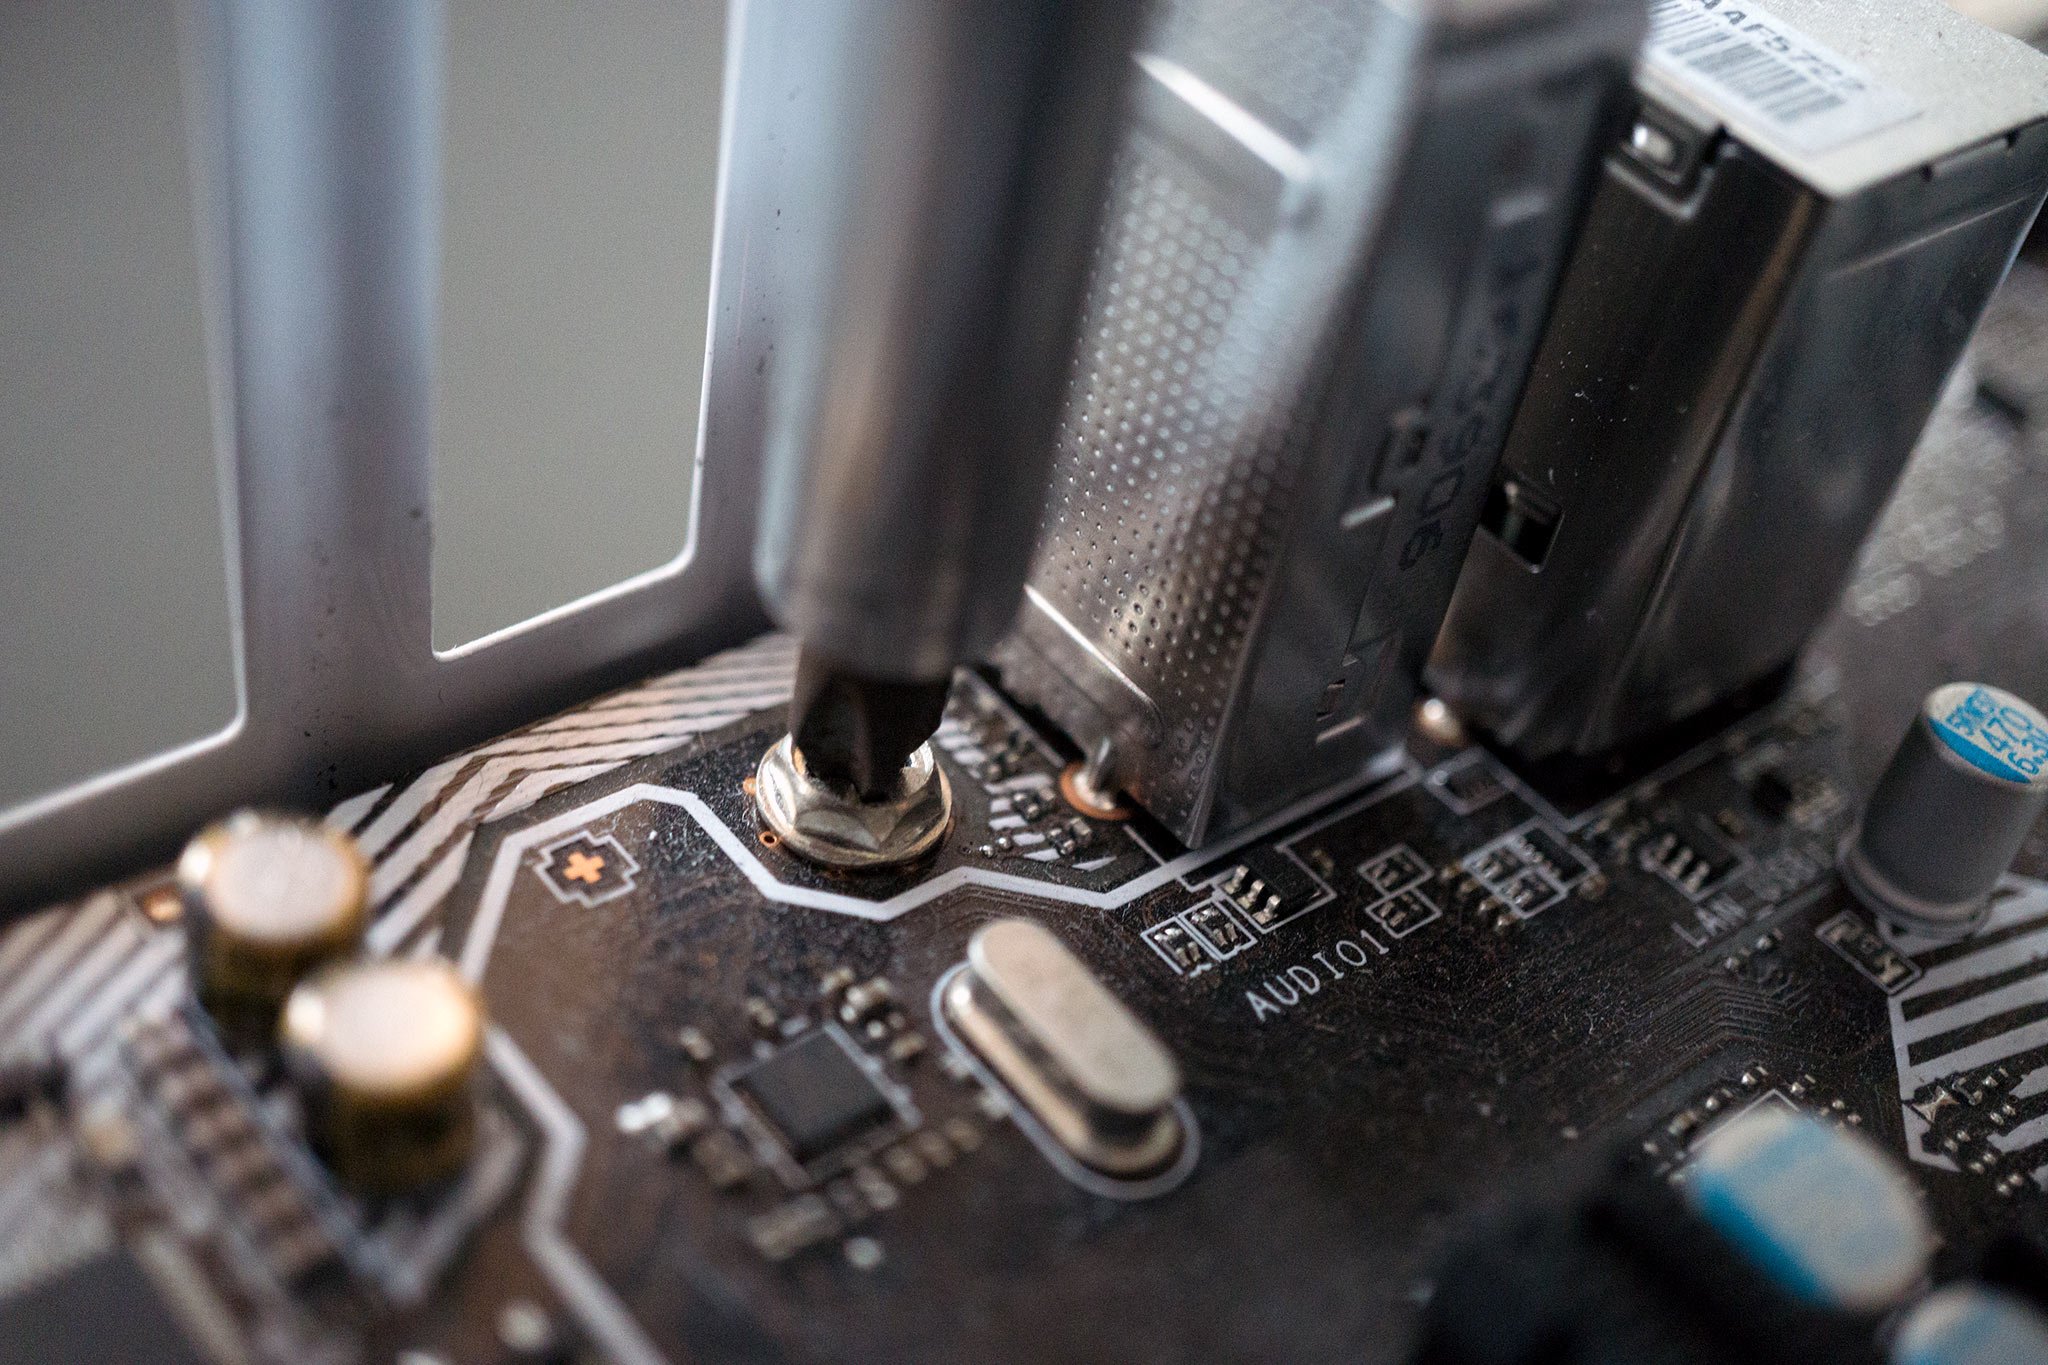
Plugging everything in
With all major components now installed, it's time to hook everything up to the power supply and motherboard. Generally speaking, it's best to start with the power to the motherboard itself.
- Motherboard: The PSU has two cables for the board: 24-pin ATX and 8-pin CPU. Route these behind the back plate, using available grommets and cutouts.
- Storage drives: Most SSDs and HDDs today use SATA connectors. These are 15-pin flat connectors with a dip on one side to prevent plugging them in the wrong way. Route these from the PSU to the drive bays and mounts, using more than one lead from the PSU if required.
![PSU Cable]()
Next, we need to connect the storage drives to the motherboard, using SATA data cables. These are essentially smaller versions of their power siblings that carry data instead. The motherboard usually has SATA ports located to the lower-left hand-side. It doesn't matter which ports are used. Much like the power cables, route these through cut outs and grommets to the drive bays and mounts.
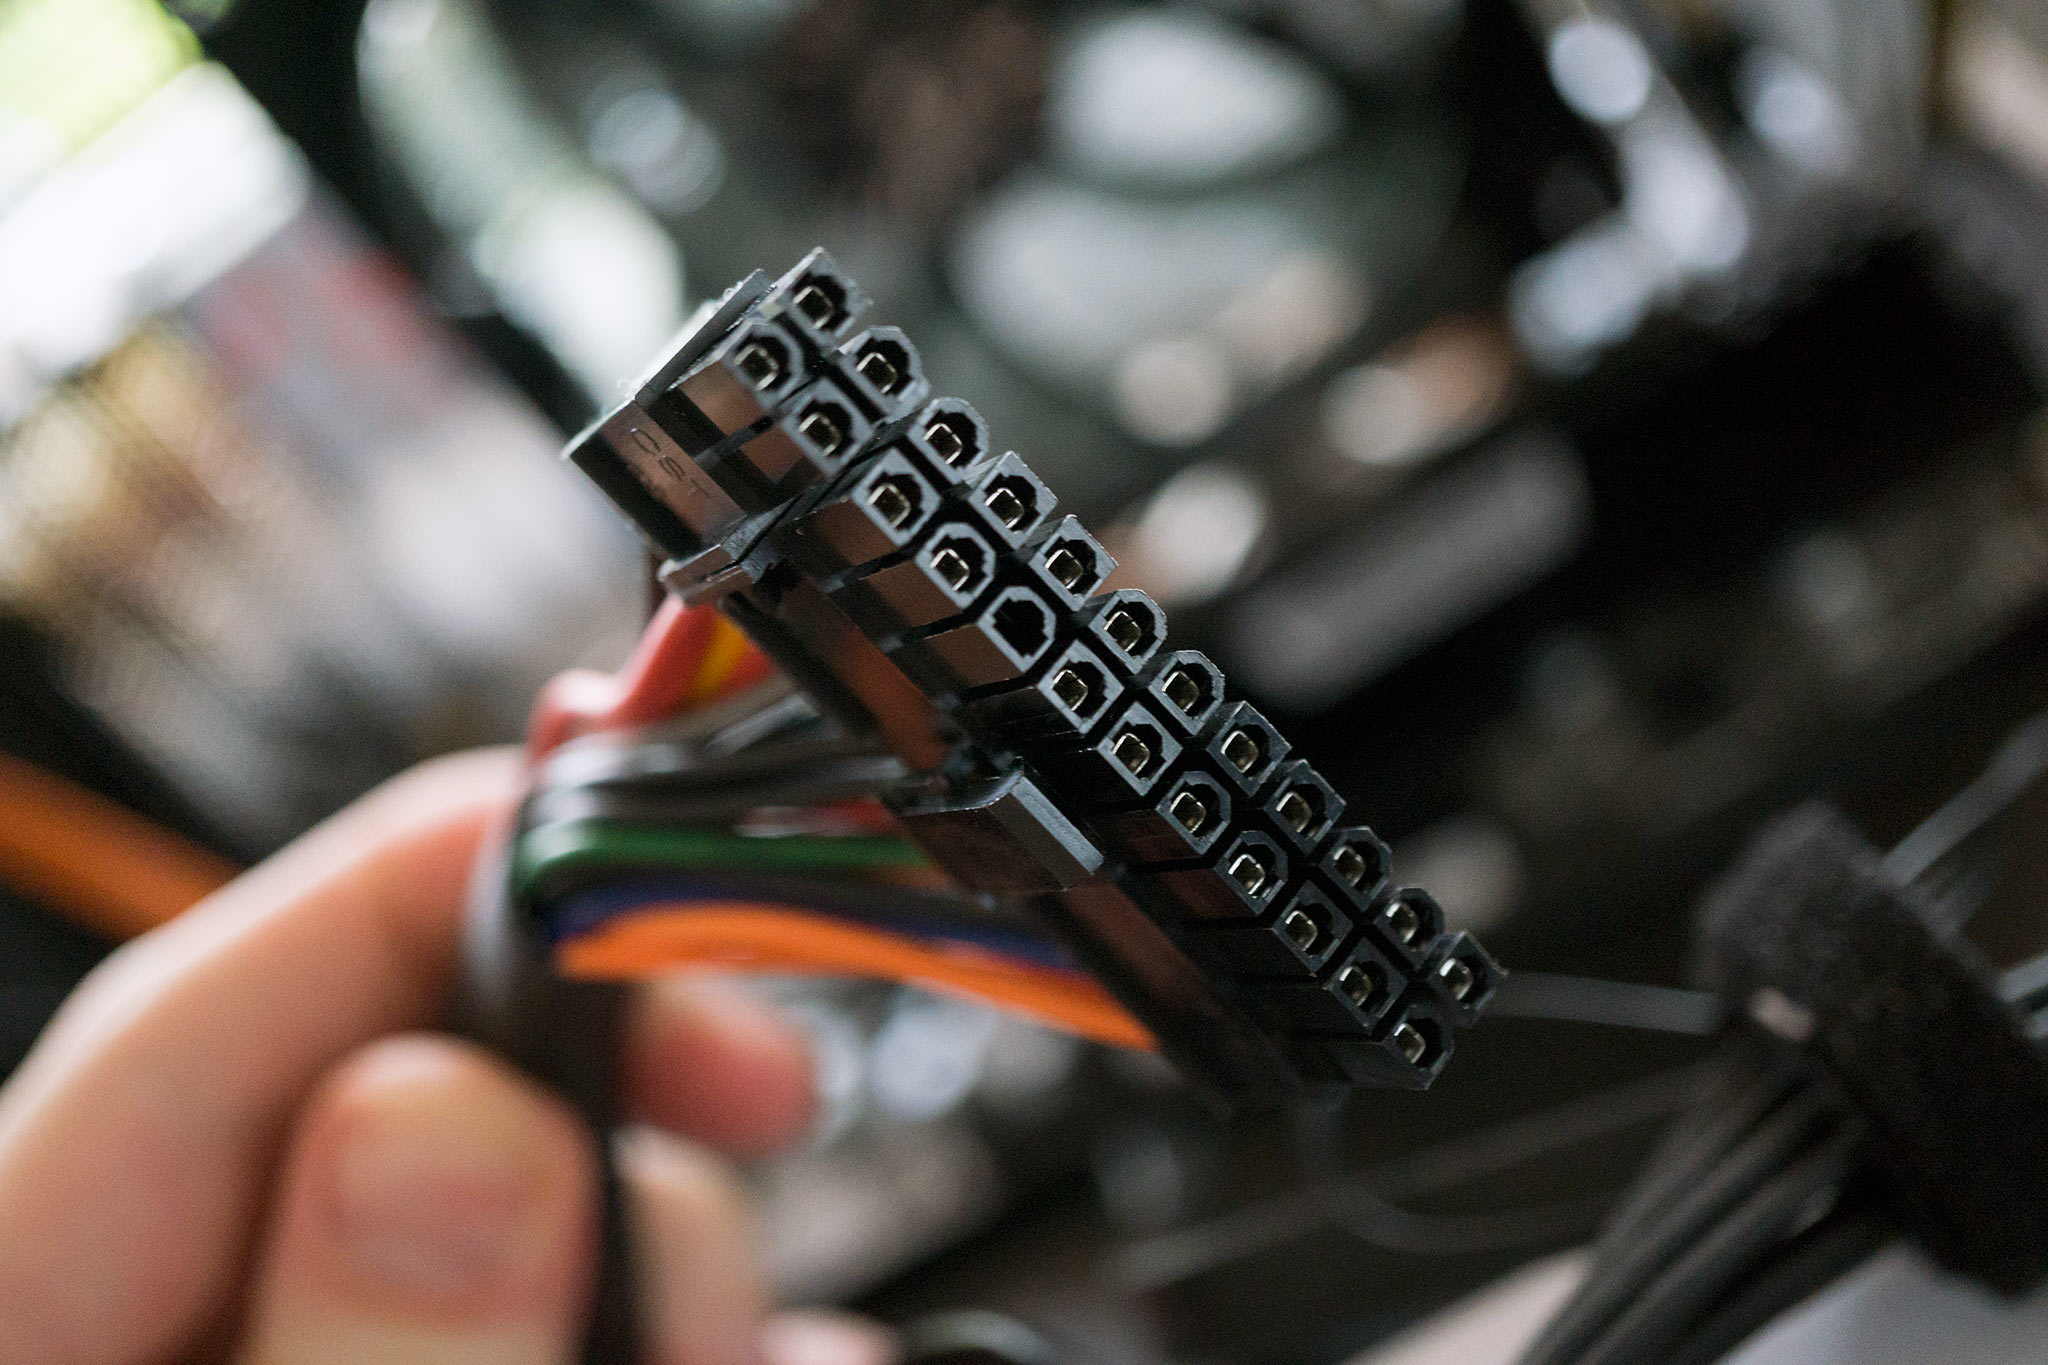
We now have power to our storage drives and to the motherboard, as well as data channels between drives and the main board. All that's really left is to connect front panel I/O and other optional connectors (front panel USB, HD audio, etc.). Connecting the front panel I/O, which includes the power switch, reset switch, HDD activity LED, and power LED can be a tricky step.
These pins stand up from the motherboard, which requires a careful approach when plugging in the small connectors. The motherboard manual should provide information as to the layout of these pins and what they correspond to - though usually the below layout is used:
![Motherboard I/O]()
The front USB 3.0 and HD audio pins can be located on the motherboard. Again, refer to the manual for exact placement as not all motherboards are created equal.
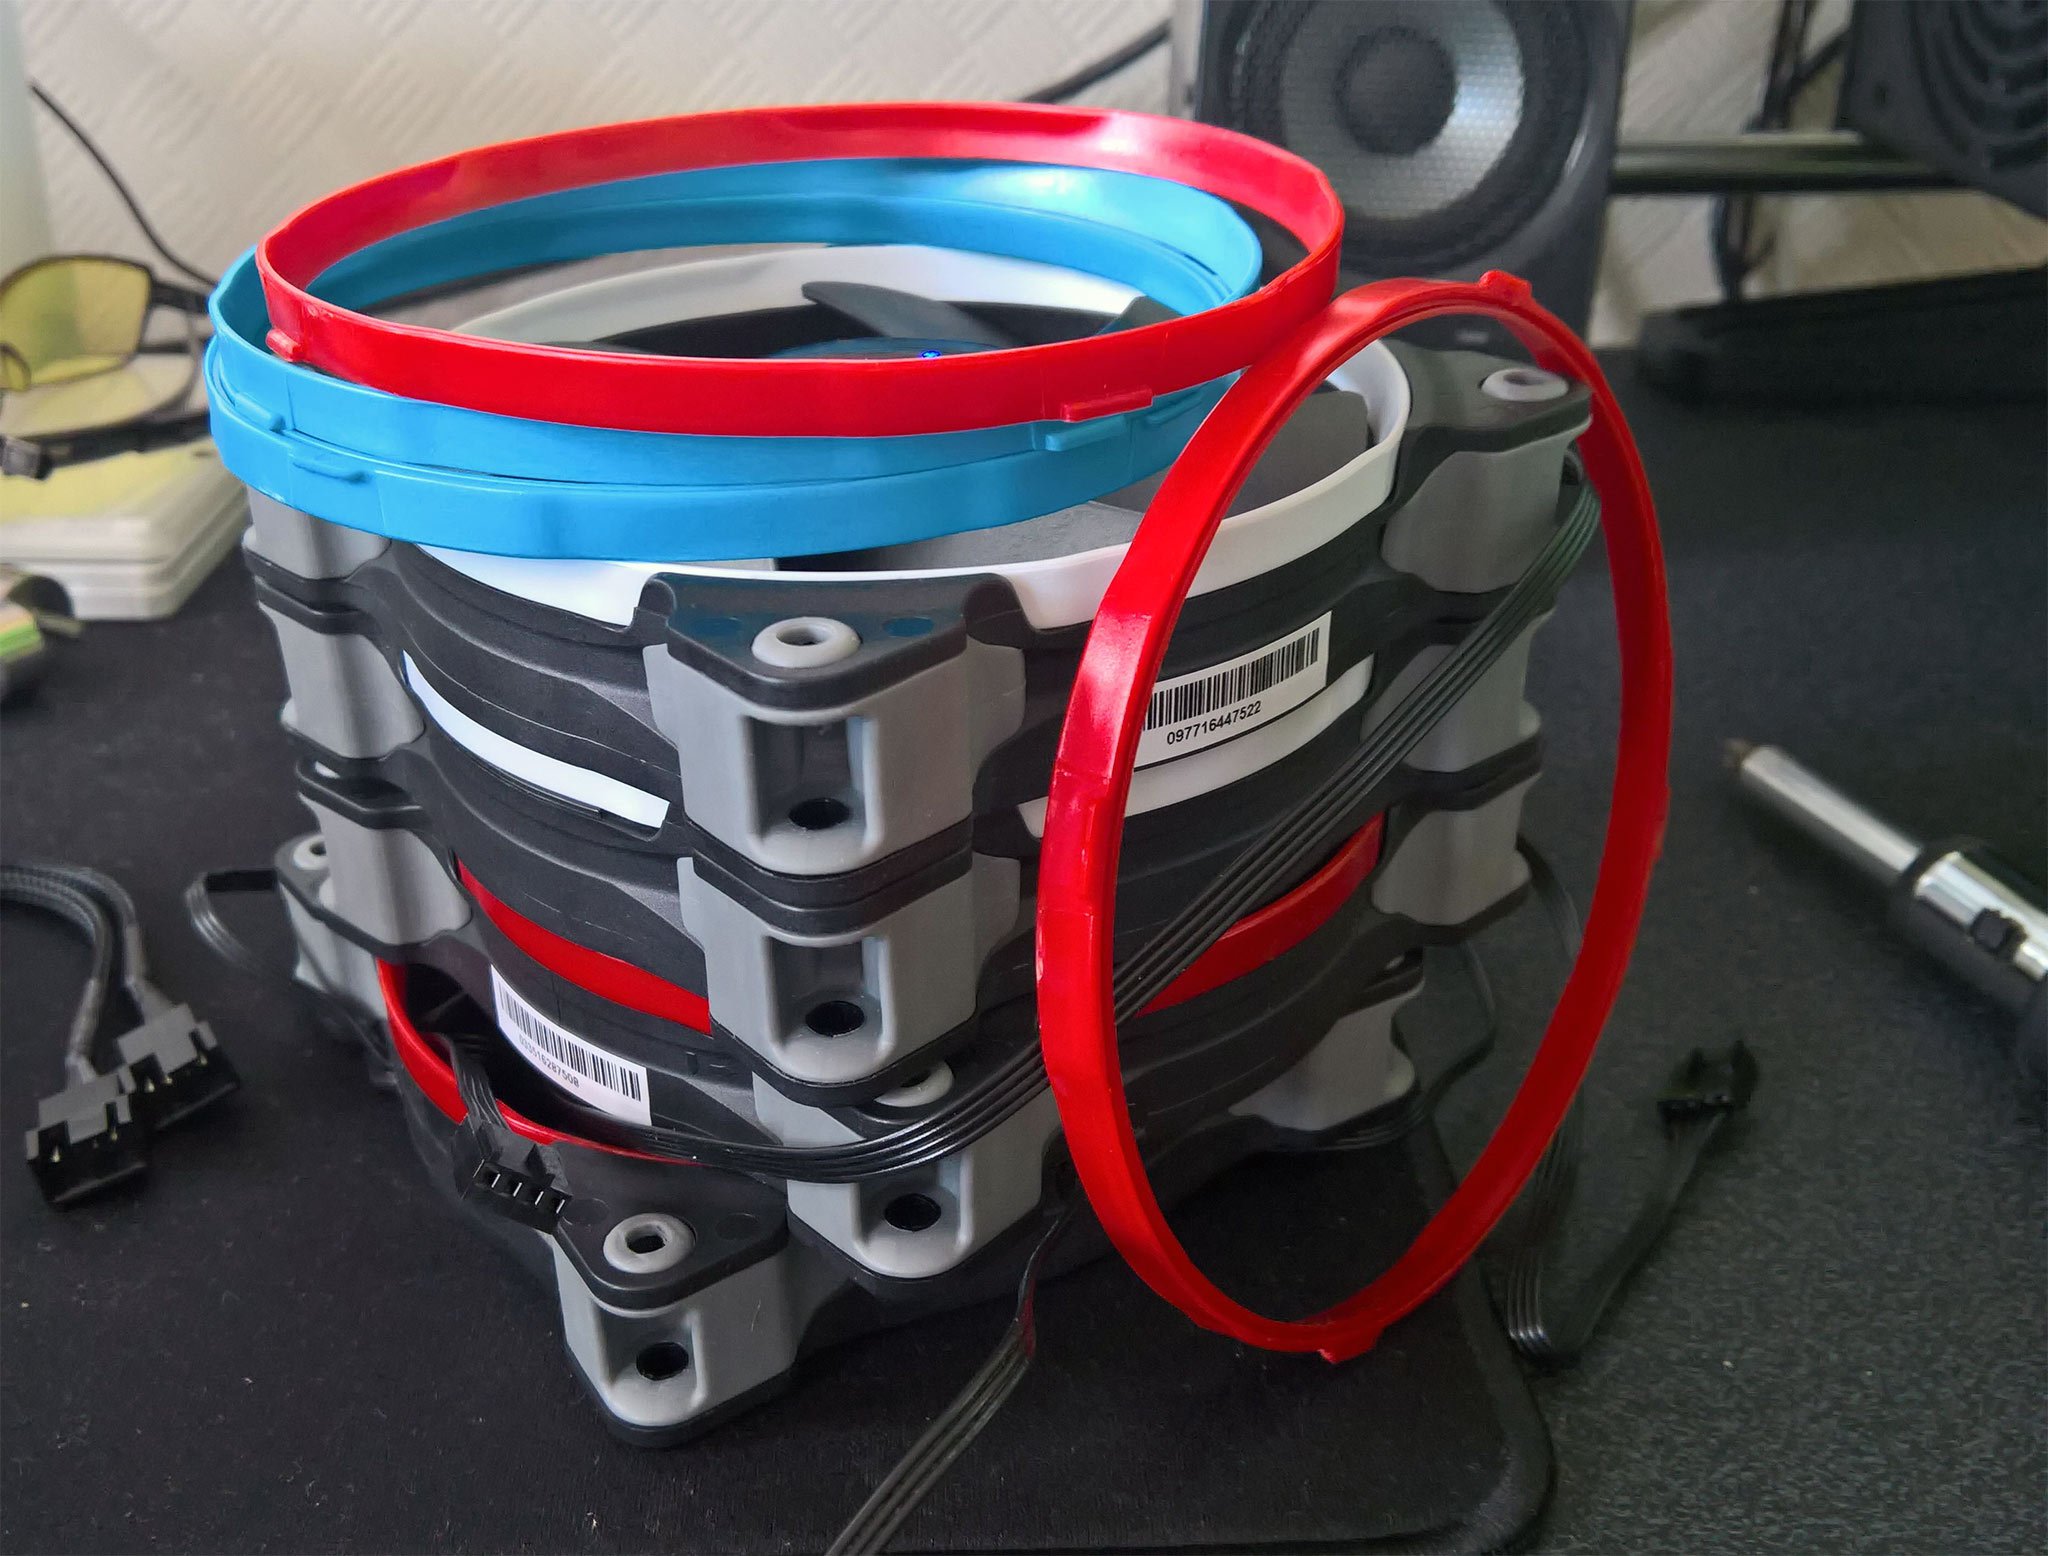
Adding case fans
For added cooling capacity (and unlocking room for overclocking or more stable operation), throwing in an extra fan or two is worthwhile. PC cases may come with fans pre-installed, but if not it's simple to screw them into fan mounts. Just be sure to align them correctly and have the units pointing the correct way. Fans can have small arrows on the side that show which way the blades spin and where airflow will be directed.
![Corsair Fans]()
Fans can either be plugged into a motherboard or to the PSU directly using an adapter. We'd always recommend the motherboard due to the ability for it to control the fans intelligently depending on system temperatures. Fan headers can be located on the motherboard itself where the 3- (or 4-) pin connectors can be inserted.
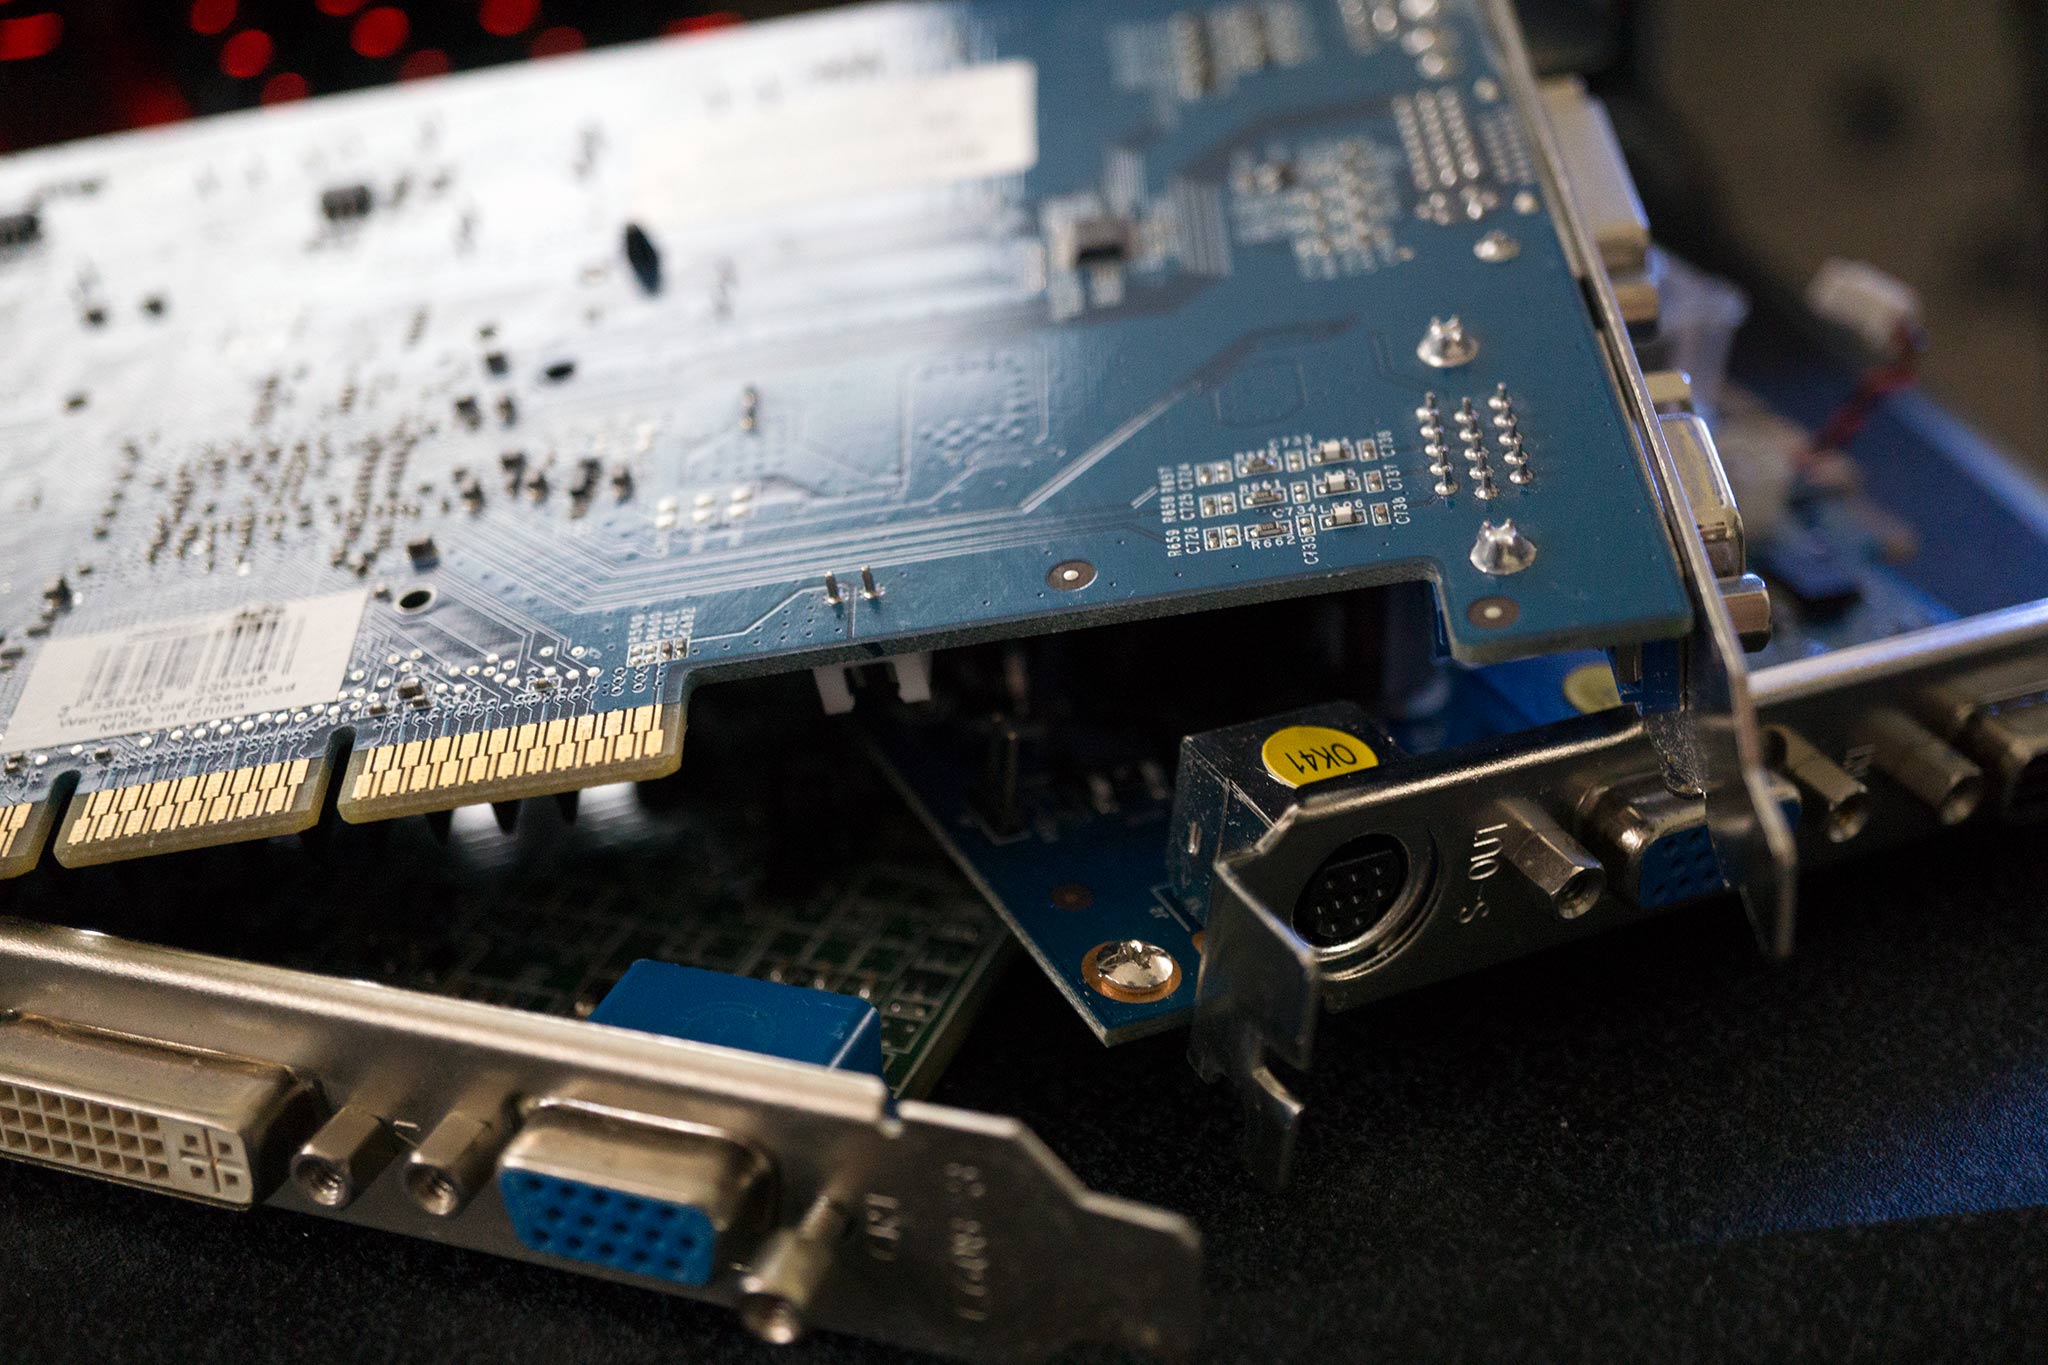
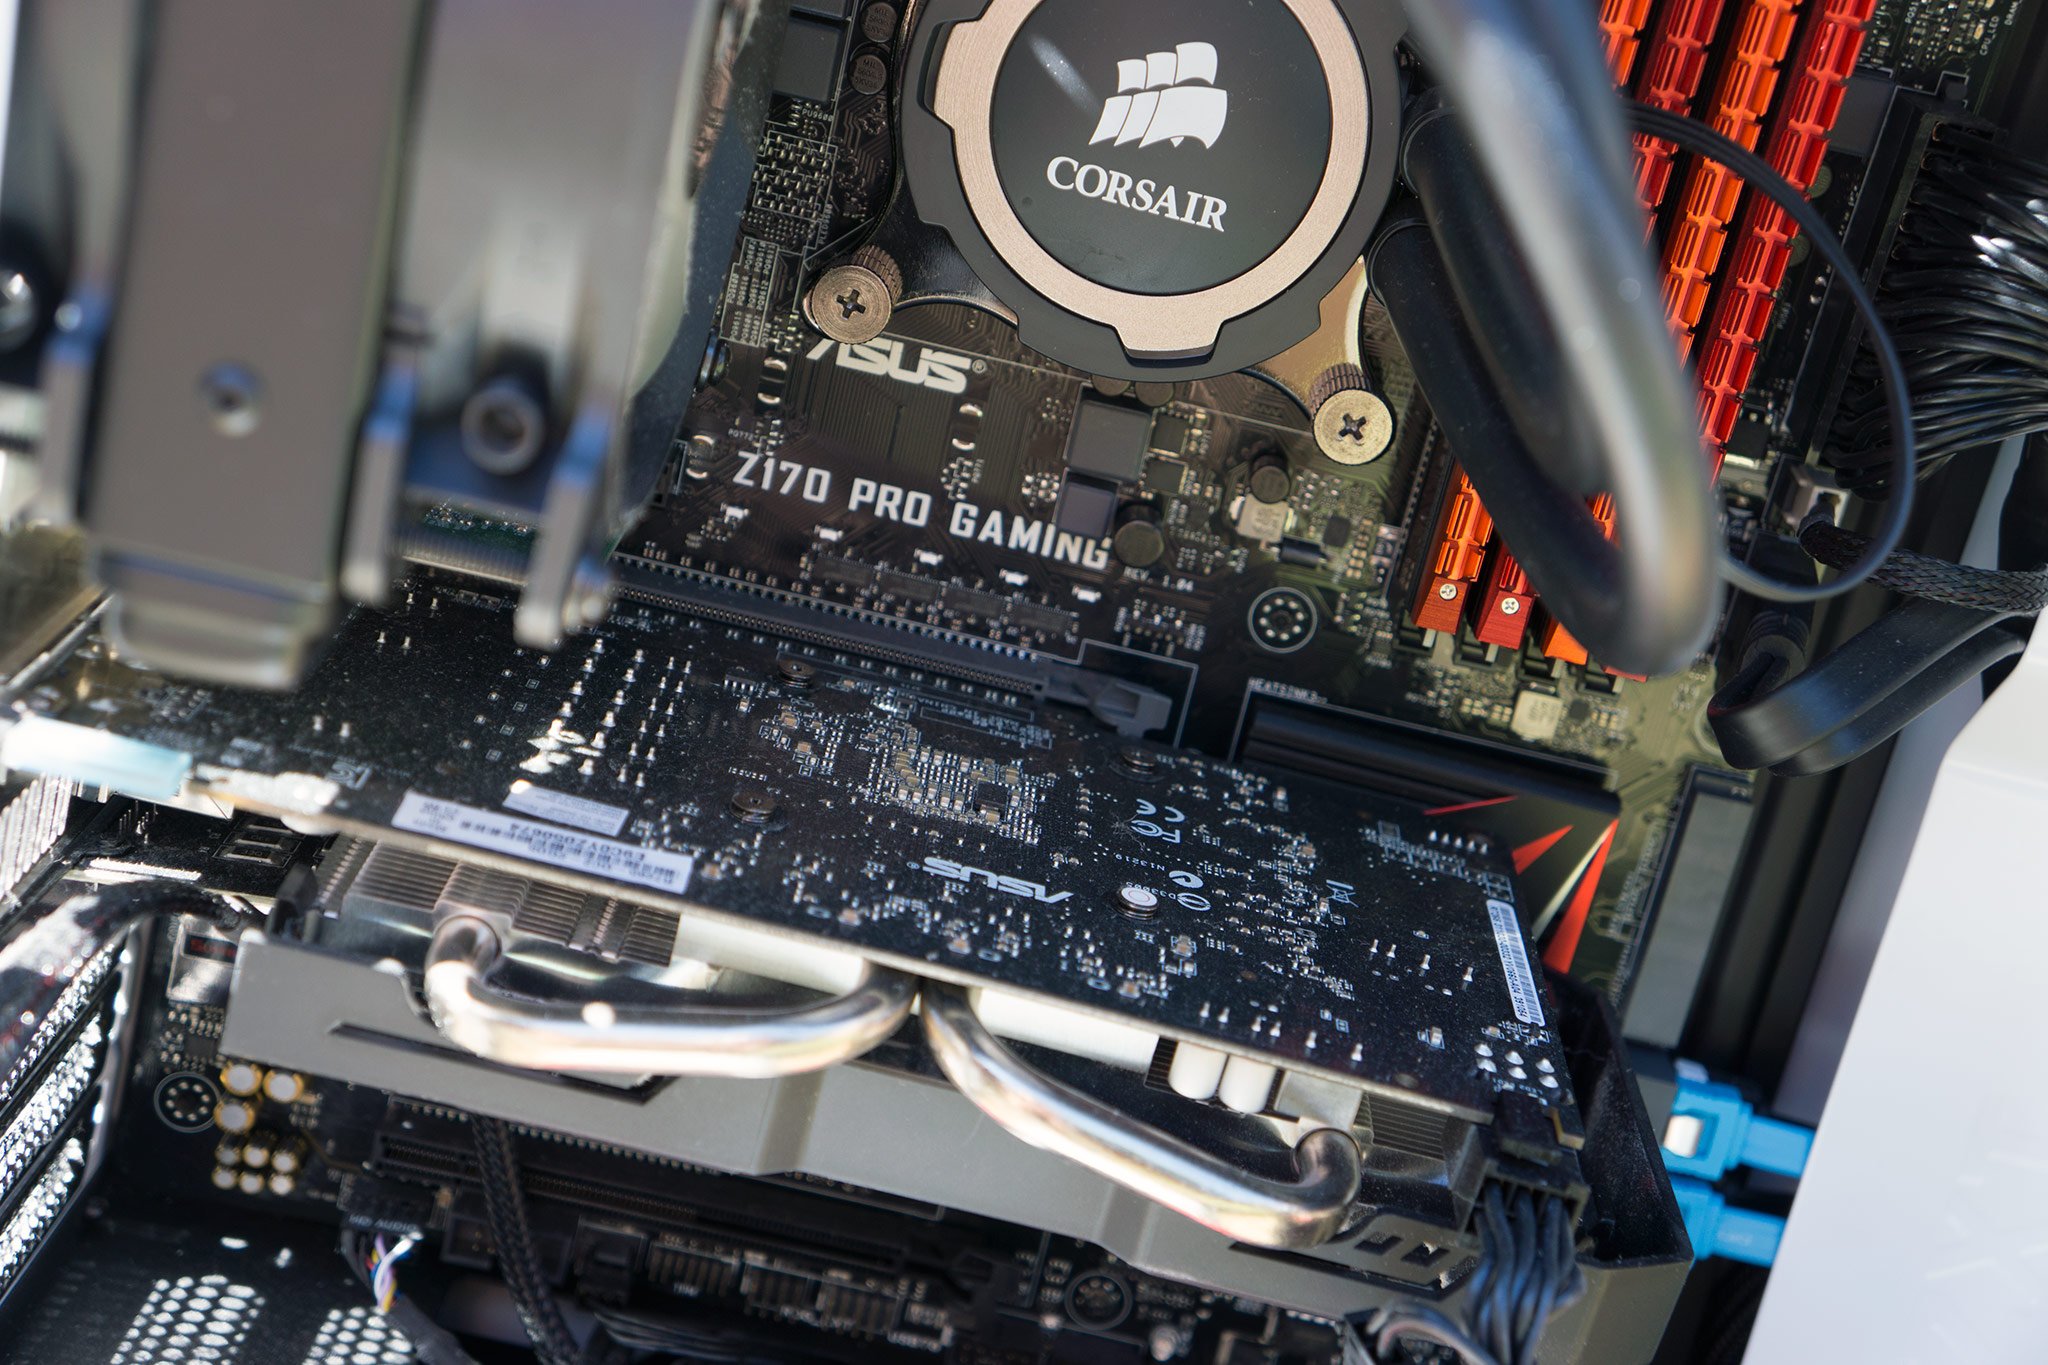
Installing a GPU
![GPU]()
Need some extra power for gaming and intense workloads? A GPU is a must-have. As an added bonus, it's real easy to install a graphics card.
- Unscrew the rear PCI brackets that align with the PCI slot you will use.
- Check that the motherboard GPU card latch is open.
- Remove the protective cap that covers the PCIe strip on the GPU.
- Line up the GPU to the PCIe slot on the motherboard.
- Carefully insert the card and push down once it has made contact with the slot, listening out for a click of the latch securing.
- Use the rear bracket screws to secure the GPU to the PC case for added stability.
Upgrading your GPU
Power up
![Inside PC]()
All that hard work will now pay off. It's time to boot up the PC and make sure everything is working fine now that all components are inside the case. Switch on the PSU and hit the power switch. You should now be greeted by the BIOS POST screen, asking for an OS to be installed if one is not detected. You'll now need to follow OS installation instructions. If you run into problems, it's time to do a little troubleshooting.