A trusted platform module (TPM) uses its hardware to increase encryption strength and prevent tampering from unwanted outside sources, and they've been around for a while. They're drawing more interest in the modern age since Microsoft has included a TPM requirement for enabling certain security features in Windows 11. We're here to help you check your PC's requirements and explain how to install a trusted platform module.
How to install a TPM
First, check that your PC doesn't already have a working TPM installed into its motherboard or via the CPU by hitting Win + R in Windows to open Run and type
tpm.mscthen hit Enter. It's possible to have a TPM installed without it being enabled by default, so it's best to check.![TPM Management]()
- Now you need to check your motherboard for a TPM header. They have around 14-20 pins, usually with one pin blocked out to prevent the incorrect module from being installed. Consult your manual to find the header, usually marked "TPM" or "SPI_TPM," and be sure to purchase the correct module to match your motherboard brand and model. Trusted platform modules are not cross-compatible, so contact the manufacturer's customer support if you're unsure.
- With your PC switched off and safely disconnected from power, safely install the TPM into your motherboard, as per your manufacturer's instructions.
Turn on your PC and enter the BIOS by hitting the appropriate key, usually Delete, F1, or F12. Keep your eye on your boot screen to identify which key you need if these don't work. If you load into Windows, you've gone too far and need to restart to try again.
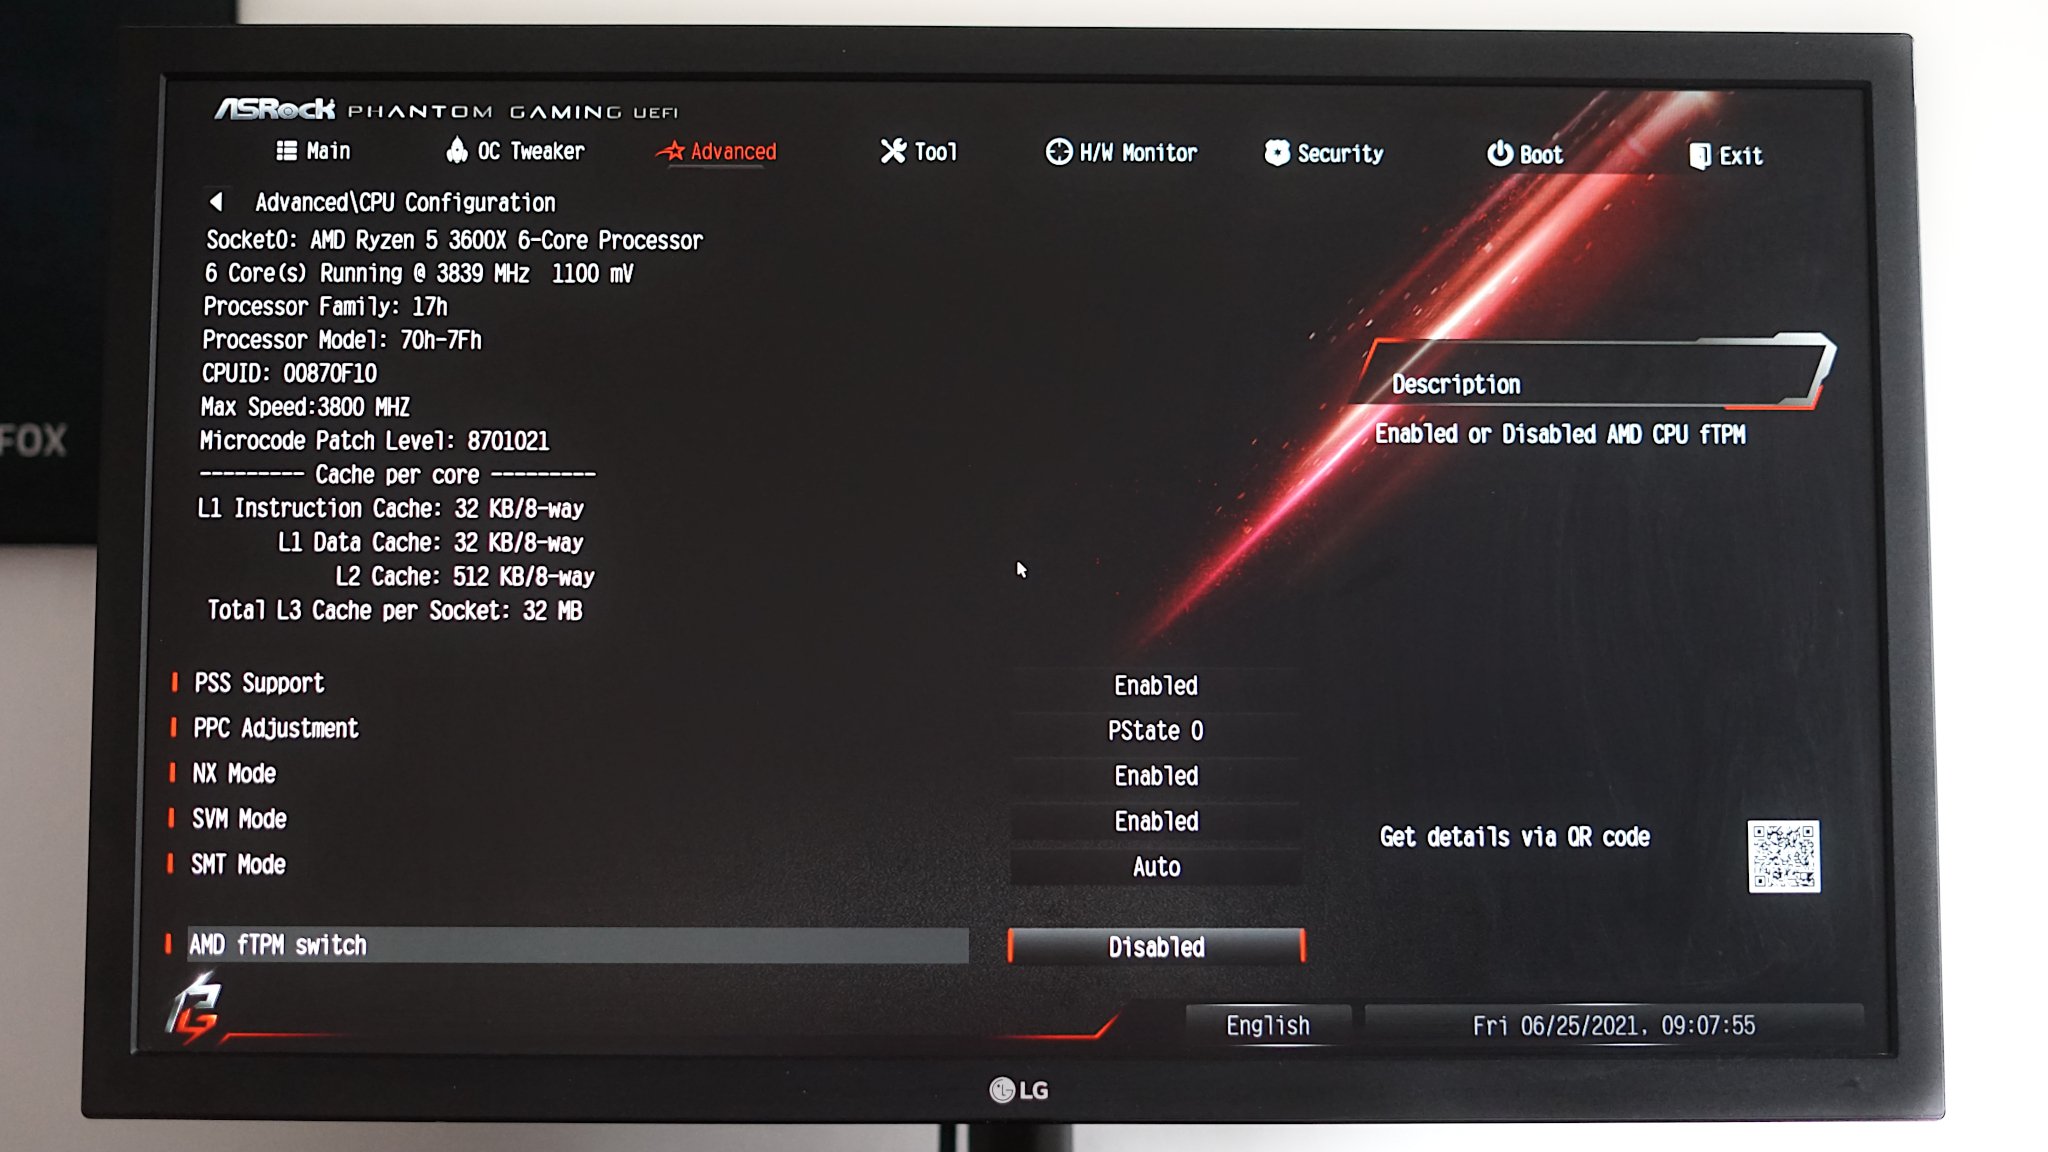
![AMD FTPM BIOS]()
- Check the UEFI firmware for a TPM option and enable the module. The exact naming style will differ between motherboards and TPM modules. Since some processors have TPM modules built in, Intel CPUs often list them as "PTT" and AMD as variations of "fTPM," but TPM should have a section of its own.
Boot into Windows as normal and check whether your PC has detected the new TPM. Hit Win + R again to open Run and type
tpm.mscto see that it's ready to use.![Windows 10 check TPM chip]()
Enabling the TPM in your BIOS post-installation is a step you shouldn't skip, as Windows may still not detect it, so follow the instructions carefully. Now you're ready to use the latest security features of Windows 11 with TPM 2.0 as long as the rest of your hardware meets the official requirements, so go ahead and upgrade.
Choosing the right TPM
You must choose the right TPM to match your motherboard, so be extra careful when checking your brand and model to find the correct module. It's not just a software incompatibility either, the modules physically differ in their pin placement, so you can't plug an incompatible brand into the wrong board. Check your manual or the official website for a rundown of features for your motherboard to check for a TPM header and find a compatible module.
Though some Intel and AMD processors and even certain motherboards have TPMs built in, either as hardware or software, a dedicated module is a more efficient method of encrypting and protecting sensitive data. Luckily, TPMs are barely much longer than the pins on the motherboard itself, so they're discreet and shouldn't obstruct any other connections.
For ASRock motherboards
ASRock Trusted Platform Module (TPM)

This ASRock TPM 2.0 matches ASRock motherboards using a 17-pin header; be sure to check your own board's requirements.


