
Getting Windows 10 IoT Core to run on the Raspberry Pi is easy. Here's what you need to know.
It's not Windows 10 as we know it from PCs, tablets or phones, but Windows 10 IoT Core is another branch of Microsoft's ubiquitous OS designed to be run on low-power devices.
One such device is the Raspberry Pi 3, the super-cheap little computer that has taken the world by storm. Embraced by coders and makers the world over, it's a perfect piece of equipment to use in a Windows 10 IoT project.
Here's how to install Windows 10 IoT Core on the Raspberry Pi 3.
What is Windows 10 IoT Core?
Microsoft's official description:
Windows 10 IoT Core is a version of Windows 10 that is optimized for smaller devices with or without a display, and that runs on the Raspberry Pi 2 and 3, Arrow DragonBoard 410c & MinnowBoard MAX. Windows 10 IoT Core utilizes the rich, extensible Universal Windows Platform (UWP) API for building great solutions.
Essentially it lets you use Windows technologies to build connected devices based on low-cost computing solutions such as the Raspberry Pi.
Microsoft showcased some examples of projects constructed using Windows 10 IoT Core.
What you need

To get up and running you need a few bits and pieces:
- Raspberry Pi 3.
- 5V 2A microUSB power supply.
- 8GB or larger Class 10 microSD card with full-size SD adapter.
- HDMI cable.
- Access to a PC.
- USB WiFi adapter (older models of Raspberry Pi) or Ethernet cable.
At this point, the HDMI cable is only to plug the Raspberry Pi into a display so you can make sure your install worked. Some Raspberry Pi starter kits include everything you need, but the list above covers the power, display, and something to install Windows 10 IoT Core on.
How to install Windows 10 IoT on the Raspberry Pi 3

For the first part, you don't need the Raspberry Pi at all, just the microSD card in its adapter and your PC. A prerequisite is that you're running Windows 10 version 10.0.10240 or higher.
- Go to the Windows 10 developer center.
Click Get Windows 10 IoT Core Dashboard to download the necessary application.
![Windows 10 IoT on Raspberry Pi]()
- Install the application and open it.
- Select set up a new device from the sidebar.
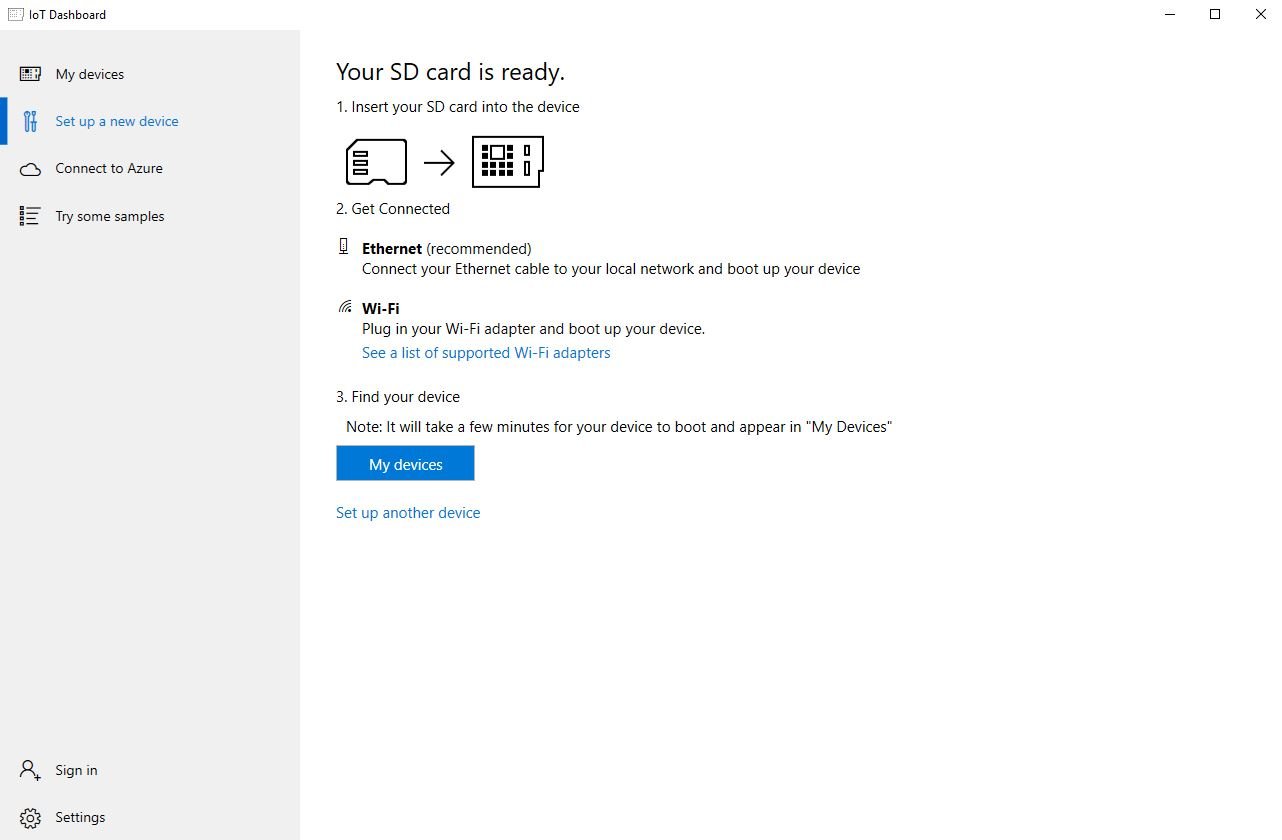
Select the options as shown in the image below. Make sure you select the correct drive for your microSD card and give your device a name and admin password.
![Windows 10 IoT on Raspberry Pi]()
- Select the WiFi network connection you want your Raspberry Pi to connect to, if required. Only networks your PC connects to will be shown.
- Click download and install.


The application will now download the necessary files from Microsoft and flash them to your microSD card. It'll take a little while, but the dashboard will show you the progress.
Once the image has been installed to the microSD card, it's time to eject it from your PC and go over to the Raspberry Pi. First connect up the microUSB cable and power supply, HDMI cable and USB WiFi adapter or Ethernet cable. Connect the HDMI cable to your chosen display, insert the microSD card into the Raspberry Pi and power it up.
Setting up

Unlike "proper" Windows 10, there's not much of a setup process here. You'll be asked to choose a language and enter your WiFi password to connect to the web. That's about it. It'll take a couple of minutes, but when booted up you'll see the Windows 10 IoT Core splash screen.
It's deliberately light and you don't have access to much. The Windows 10 part is designed to disappear, as once you deploy an app to your Raspberry Pi, it becomes that app. There's no flipping in and out of Windows and launching apps like you would on a PC.
When booted, you can go back to the dashboard application on your PC, and you'll see your Raspberry Pi listed as one of your devices.

To get a feel for how things operate you can deploy a selection of sample applications to your Raspberry Pi to see how Windows disappears, and all you're left with is the application designed to run on the IoT Core. These include the classic Hello World, an Internet Radio app and something to network connect a 3D printer.
Developing is much more complex, but at least if you're interested in this new branch of Windows 10, it's easy and cheap to get up and running. To go further you'll need to download Visual Studio and start building code. Microsoft has a whole bundle of resources at your disposal, however, to help you get the most from your Windows 10 IoT Core experience.
Have you built anything neat using Windows 10 IoT Core? Tell us all about it in the comments.