Quantcast
Channel: Help & How To
Viewing all 5861 articles
Browse latest View live

How to stream YouTube videos from Windows Phone to the Xbox One using Tubecast

$
0
0

Tubecast

Windows Phone users currently do not have an official YouTube application, but there are third-party apps available. One of those awesome apps is Tubecast, which we've recently reviewed. If you haven't installed it yet, you definitely should. It has an amazing feature that lets you "cast" videos from your phone to the Xbox One. Don't believe us? We'll show you how it works.

Tubecast has such a beautiful user interface that you should check it out even if you're not a fan of YouTube videos. The layout for the thumbnails, titles, and descriptions are well thought out. When you are watching a video, take a closer look at the icons on the top right corner. The icon on the right is the one that will let you "cast" or stream the video to your Xbox One. This works as long both devices are on the same Wi-Fi network. This also works with Chromecast or other devices that support UPNP/DLNA protocol. Most recent TVs and SmartTVs are supported.

After tapping the cast button, a list of supported devices are shown. Tap on the Xbox or another device you prefer and the video will start playing there. Depending on the device, you can control the volume and or move the playhead.

Tubecast icons

You might have noticed that there is a number on the cast button. Tubecast is a free download from the Windows Phone Store, but it is limited to 20 casts. You can unlock the app for $1.99 to cast as many videos as you want. That's the only difference between the free and Pro versions of Tubecast. Everything else is the same.

Casting with Tubecast works really well and it is an excellent third-party app for YouTube overall. Have you tried it?

512MB RAM devices supported

QR: Tubecast


Here is how to relocate your default Library folders in Windows 8

$
0
0

Beginner's Tips Series!

Previously, we took a look at different methods of creating screenshots on the Surface Pro 3 and other Windows 8 devices, some of which automatically saved to a subfolder in the Pictures directory called Screenshots. This folder gets created the first time you use the Home (Windows) button + Down Volume to make a screen grab and becomes the default folder going forward.

You may decide that for ease of use or organizational purposes that you want to change the default folder where these files are saved. If that is the case, fear not, you can easily change it. Furthermore, this procedure is not limited to your Screenshots folder. It will work with just about any of your default folders, like Desktop, Documents, Downloads, Music, Pictures, and Videos. However, for the sake of continuity, we will stick with the Screenshots folder. Here's all you have to do:

  1. Highlight your current Screenshots folder by clicking it, then click the Properties button on the Home tab. You can also simply right-click the Screenshots folder and select Properties.
  2. When the Properties box pops up, go to the Location tab and click on the Move button.
  3. You will be prompted to select the now location in which you would like to store your screenshots
  4. You will then be prompted to move any existing screenshots to the new location.

And just like that, your files will be whisked away to the new location. Any future screenshots you take will also be saved there by default.

This is a quick and easy way to keep your data organized, or compartmentalized on a separate storage device, such as a secondary hard drive or MicroSD card. We will explore the latter in the near future. Stay tuned!

5 tips to make awesome Color Pop photos with Lumia Creative Studio

$
0
0

Lumia Creative Studio

In case you missed it, Creative Studio has just been updated to bring back Color Pop. This feature lets you create black and white images with the exception of certain objects. If done correctly, you can come up with some awesome photos. I walked around New York City today and took some photos with the Lumia 1520. Check out some of the images I've created and my 5 tips with Color Pop.

1. Colors. Find subjects with colors that already stand out. Changing everything else to black and white makes the subjects pop even more. I like to look for objects with bright red, yellow, or orange.

Color Pop

2. Shapes. For best results, look for objects with distinctive shapes or lines. This helps Creative Studio separate the objects.

Color Pop

3. Brush. Creative Studio is usually good at separating objects, but there will be times when colors overlap. You can repair this with the paintbrush. You'll be able to add or subtract colors using the brush. In the photo below, the car windows were added manually with the brush.

Color Pop

4. Reframe. Take advantage of the other features on Creative Studio. I think framing is an important aspect to creating interesting photos. If I'm uploading to Facebook or blogs, I reframe the images to 3:2 or 4:3. If the photo is going to Instagram, I reframe them to square. When reframing, I also keep a close eye on the grids for the one-third rule or golden ratio.

Color Pop

5. Adjust. Don't forget that you can also tinker with the image's other settings. I like to increase vibrance, clarity, and shadows just a little bit.

Color Pop

Try it

Lumia Creative Studio is a free download at the Windows Phone Store. A lot of people are probably happy that Color Pop is back. If done right, it can create some amazing images. If you're new to Color Pop, try some of the tips mentioned above. If you have some cool images or more tips to share, include them in the comments below!

QR: Lumia Creative Studio

Switching? Here is how to transfer your Gmail Contacts to Outlook.com

$
0
0

Beginner's Tips Series!

About a year ago, I decided to move away from using Gmail as my primary email address, in favor of Outlook.com. I initially considered it way back at the end of 2012 when Google decided it was going to drop support for Exchange ActiveSync (EAS), but I had been using Gmail for over a decade and was, frankly, just too lazy. Finally, after growing more and more concerned about the privacy of my email data, I bit the bullet and made the switch.

Though I had been using Gmail for so long, the transition was generally painless. One of the most important things that I needed to transfer over, was my list of Contacts. Thankfully, that too, was very straightforward.

I know that many of Windows Phone Central's readers are pretty technically savvy, and/or have already been through this process, so this may be old hat for them. But for those of you who are just making this transition and may need a helping hand, here is a step-by-step on how to transfer your Google Contacts to Outlook.

  1. First, log into your Google contacts page. Similarly, you can log into Gmail, then click Gmail in the upper-left corner above the Compose button and select Contacts.
  2. Once you are in Contacts, click on the More button under the search field, then select Export
  3. Choose All Contacts, unless you only want to export a specific group.
  4. Choose Google CSV format, then click Export and save the file to your Desktop or folder of your choosing. It may seem counter-intuitive not to use the Outlook CSV format, but Microsoft's own instructions say to use the Google CSV.
  5. Next, log into your Outlook.com People hub. You can also log into Outlook.com, then click drop-down arrow in the top left and select People.
  6. Click the Start Import arrow under Import Contacts, then select Google on the next screen
  7. Browse to the CSV file that you exported from Google, Then upload it.
  8. Outlook will then compile the list of Contacts and ask you to confirm that it is correct.
  9. If everything looks good, click the Import button and you should now see your Google Contacts in Outlook.com

That's it. Simple right?

Let us know what questions you have or what challenges you've run into the Comments section below.

How to move media Libraries to a microSD card on your Surface Pro 3

$
0
0

Beginners' Tips Series!

My Surface Pro 3 has quickly become the device I use most often. And since what I do on it is typically limited to writing, crawling the web and communicating with people, my demand for storage is not very high. However, I always make sure that I have plenty of music on my Surface, which can take up a lot of space.

When deciding on which version of the Surface I was going to buy I knew I wanted an Intel i5 processor, which left me with 128GB and 256GB for hard drive options. From a storage perspective, it was a no-brainer for me to go with the 128GB drive. Knowing full well that I could increase the amount of storage at any given time by taking advantage of the Surface's microSD card slot helps with that decision.

Considering I already had a 64GB microSD card sitting at home, it was a decision that saved me $300 over the 256GB model. The way that I found to manage storage best for my needs is to use a microSD card for my media, like music, leaving the hard drive of the Surface for apps and operating system needs. In order to do this, however, I needed to tell Windows that I wanted to operate this way, by making my music folder part of my Windows Libraries.

In earlier versions of Windows, there were some hoops that you needed to jump through because removable devices could not be added to Windows Libraries. But Windows 8.1 makes is easy, requiring just a few clicks of the mouse. I already had my music in a folder by the same name on my microSD card, so let's assume you will be starting from the same point.

Method 1

  1. First, insert your microSD card into the slot on the back of the Surface.
  2. Open File Explorer, and then browse to the folder on your microSD card that you would like to add to your Library.
  3. Right-click on the folder, then select Include In Library > Music

4. Now, all that is left is to open Xbox Music and wait for it to add the files to your Collection.

Another way to get your music from your microSD card to your Xbox Music is from within the app itself.

Method 2

  1. From the Collection section of Xbox Music, click on "Change where we look."

If for some reason you do not see that option, open the Charms bar, then go Settings > Preferences and select "Choose where we look for music on this PC."

  1. Click the + symbol, then browse to the folder on your card.

If you ever want to remove your microSD card from your Library:

  1. Open File Explorer, and then right-click on your Music Library and select Properties.
  2. Click on the folder, then click Remove.

3. Click OK.

You can also, just undo what you did in Method 2.

Got any other storage tips? Be sure to weigh in below in the Comments.

Is the Windows 10 Home folder bad for privacy? Here's how to get rid of it.

$
0
0

As people continue to use the Windows 10 Technical Preview, they are identifying subtle differences between it and its predecessor. One such feature that seems to be a double-edged sword is the Home folder in the File Explorer. When clicked, the Home folder displays a list of your File Explorer Favorites, folders that you frequent, and your recently-accessed files. It is the last two that have people questioning whether the Home folder is a good or bad idea.

On one hand, it is pretty convenient to have easy access to your recent and frequent items. After all, you frequent them, so why not make it quicker to get to them? On the other hand, some of those frequent folders and recent items may be things that you do not wish to bring to the attention of other people who may use the computer. We'll leave those possibilities to your imagination.

Whatever your opinion may be, there is a relatively easy way to get rid of it discovered by user Cyborg_x9. All the fix requires is a little venturing into the Windows registry.

This is what the Home folder view looks like. If you want to rock it old school with no Home folder, check out the steps below. It is pretty straight-forward, but like any time you play around in the registry, be warned that you do this at your own risk.

Let's get rid of this thing!

  1. Okay, first, open the Windows Registry Editor by clicking Start and typing "regedit" in the search bar. Click on regedit.exe.

  1. Navigate to HKEY_LOCAL_MACHINE\SOFTWARE\Microsoft\Windows\CurrentVersion\Explorer\HomeFolder\NameSpace\DelegateFolder

  1. Optional: You may want to back up your current Home Folder registry settings, just in case. To do that, right-click on HKEY_LOCAL_MACHINE\SOFTWARE\Microsoft\Windows\CurrentVersion\Explorer\HomeFolder and select Export.

  1. You will notice that each subkey in the DelegateFolders key represents one of the sections in the Home Folder view.

5.Simply right-click on each one that you want to remove and select Delete. Confirm your selection, and you will no longer see them in your Home Folder view.

Have you found any features in Windows 10 that you wish were gone? Weigh in down below in the comments. Maybe we'll have a fix!

Source: Neowin (forums); Thanks, Cyborg_x9, for the tip!

How to remove Windows 10 Technical Preview from your Surface Pro 3

$
0
0

Advanced Tip Series!

There has been a tremendous outpouring of comments on Windows 10 Technical Preview, both positive and negative. Some people have had a lot of luck running it while others have run into problem after problem. When you're dealing with a software preview, that's just the nature of the beast.

You may be one of the technical daredevils that boldly loaded Windows 10 on your Surface Pro 3. You may also be one of those sad souls who now regret that decision. If you fell into the second category and neglected to heed all the warnings about creating recovery media for your device, Windows 10 install has almost certainly wiped out the recovery partition on your Surface. This missing recovery partition makes an easy return to Windows 8 impossible.

Not all is lost though. You can still bring Windows 8.1 back to your Surface Pro 3 using a USB recovery drive. A lot of people have been hitting a stumbling block when trying to recover their Surface because it recognizes that Windows 10 Technical Preview is installed and thinks you are using the wrong version of the recovery disk.

BE WARNED! This action will wipe out your Surface Pro 3 and all of the data on its hard drive. Was I clear enough?

Let me start by saying that if you are attempting this, the assumption here is that you have some level of technical know-how. For that reason, I am not going to spell out certain processes, like how to format a USB drive.

You backed up all of your data, right? Okay, let's do this.

  1. First, download the Surface Pro 3 recovery media from Microsoft
  2. Next, extract the contents of the downloaded ZIP file onto a USB drive that has been formatted with the FAT32 filesystem. You will need at least 16GB of on the drive.
  3. With your Surface powered off, insert the USB drive.
  4. Press and hold the Volume Down button, and then press and release the Power button. When the Surface logo appears, release the Volume Down button.
  5. Choose your language and country, and then go to Troubleshoot > Advanced Options > Command Prompt.
  6. Type "diskpart" then press Enter
  7. Type "select disk system" then press Enter. This action will select the drive that the operating system is loaded on. There's no turning back after this next step…
  8. Type "clean" then press Enter. Your hard drive is now erased.
  9. Type "exit" then press Enter
  10. Turn off your Surface and power it on using the method in Step 4
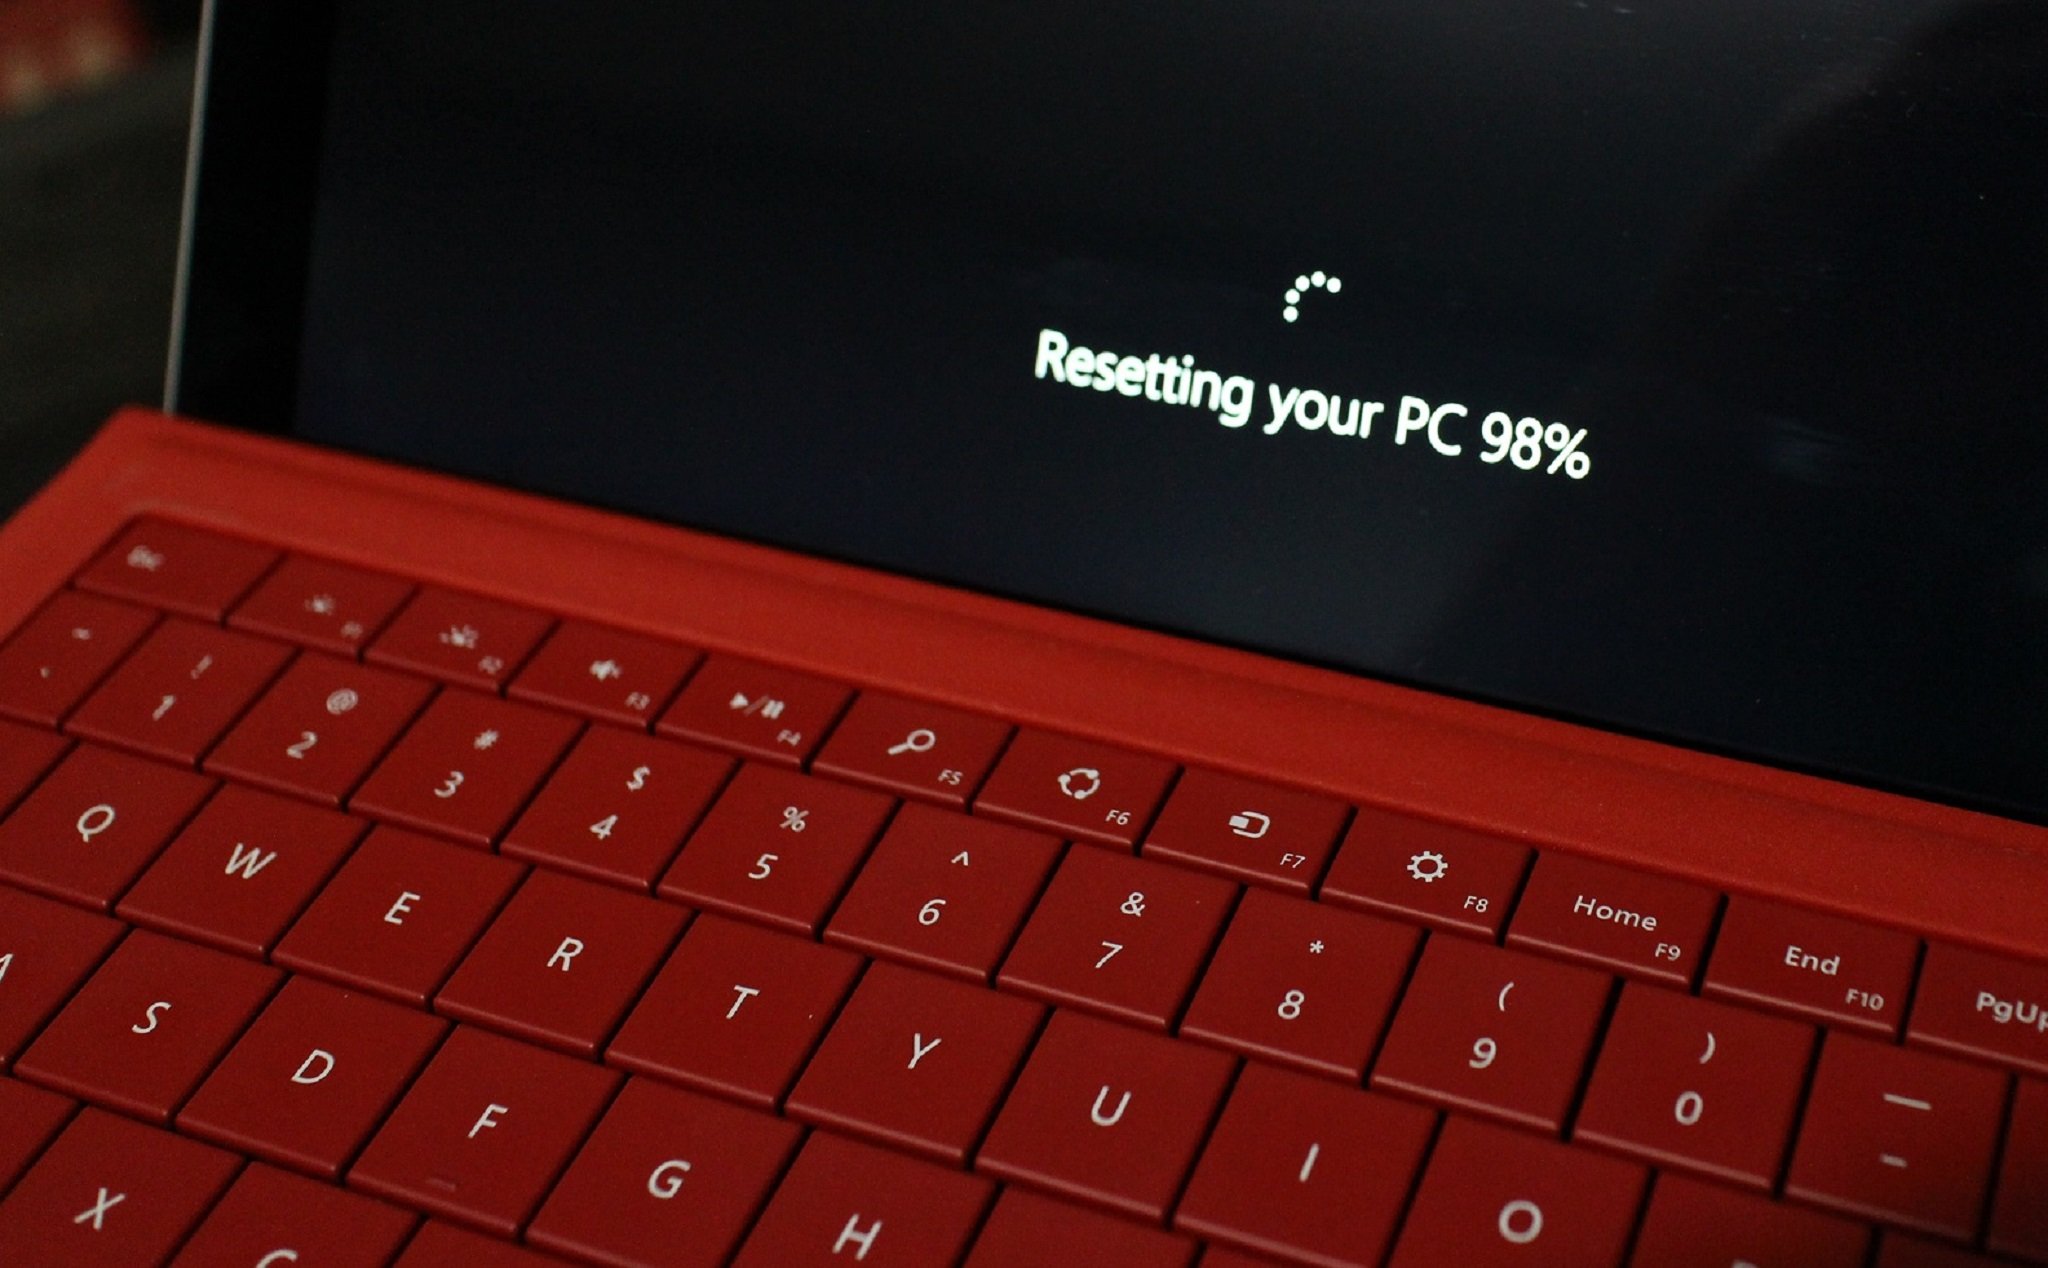
  11. Choose your language and country, and then go to Troubleshoot > Reset your PC
  12. Click Next
  13. Click "Yes, repartition the drives."
  14. Follow the prompts to begin the recovery process
  15. If prompted, confirm that you want to clear the TPM (trusted Platform Module) by pressing F12

Your Surface will now boot up and finish the installation. You then will be directed to the initial device setup, starting with Region and Language settings.

You're almost there!

Hopefully, everything is back to normal now. You can sign in, download all of your apps and move your backed-up data to your newly-restored Surface Pro 3.

Want to see what Windows 10 is like on the Surface Pro 3? Make sure you watch our hands-on video and in-depth article about our experience with it.

Related Reading:

Have any of you gone through this process? Tell us about your experience in the comments!

How to send drawings on Skype for Windows Phone

$
0
0

Skype Drawing

On Monday, Skype added drawings to their Windows Phone app. You can draw on empty canvas, add scribbles to a photo, or even add markers on a map. There were other updates too, including sign-in improvements, HD screen support, and faster resume time, but drawings stand out. Not sure how to do it with the new update? Don't worry. We'll show you in this video.

  1. In conversation view, tap the plus sign on the left.
  2. Tap 'select drawing'
  3. Start drawing!
  4. Tap the 3 dots on the lower right corner if you want to add a photo or a map.
  5. You can select a photo from your camera roll, or take a new one with the camera. You can also swipe and pinch to zoom to adjust the map.
  6. That's it! Scribble away!

When drawing, there are three different sizes for your brush. Tapping the brushes on the top right corner cycles through the different sizes. There are ten colors to choose from as well.

Skype Drawing

Once you're happy with your drawing, just tap send. Recipients with Skype apps that don't support drawings will display a message instead of your beautiful artwork. It says:

"This device doesn't support Skype's new picture sharing features yet, but you can still view it in your browser here: http://api.asm.skype.com/…"

What's interesting is that this drawing feature has been made available for Microsoft's own Windows Phone platform ahead of iOS and Android. They haven't mentioned yet if or when they'll get this feature in the future. Remember when Microsoft gave more features to iOS and Android users for Skype Qik?

Skype is a free download from the Windows Phone Store. Have you tried drawing with the new update for Windows Phone? Try it out if you haven't yet and let us know how you like it.

512MB RAM devices supported

QR: Skype


Microsoft Account two-step verification: What it is and why you want it

$
0
0

Beginners' Tips Series!

Now, more than ever before, people have tons of data about themselves stored online. We have information in emails, bank accounts, social media, and countless other places. And at no other time has all of this data been more at risk.

While we cannot prevent the Targets and Home Depots of the world from being breached and exposing our credit card data, there are some measures that we can take in to help secure our information.

One of the easiest and most effective ways of doing that is by setting up two-step verification in our online accounts, like our Microsoft account.

What is two-step verification?

Two-step verification, also known as multi-factor authentication, as it applies to account information is an approach to security that requires a person to provide two different forms of identification before being granted access to their account. For your Microsoft Account, it means entering in a special code for the first time you login with a service on a device (or the device itself).

Think of it in terms of accessing money from an ATM. Not only do you need to present your card, but you also have to enter a pin number. In terms of online logins, like your Microsoft account, it would include entering your password and then having to enter the verification code delivered via text, email or another method.

Why should I care?

The purpose behind it is to protect individuals who may have had their passwords compromised. Without it, a miscreant who knows the username and password can just log into the account, access whatever information there is, or make any changes they want. With two-step verification in place, such an occurrence could be prevented.

How do I set it up?

Microsoft makes it simple to set up two-step verification and gives you a few different methods authenticating to your account. To set it up:

  1. Log into your Microsoft account at https://account.live.com
  2. Click on Security & password on the left under Account.
  3. Click on Setup two-step verification.
  4. Go through the remaining steps.

Once you are all setup, you will be asked to provide a verification code when you log into your Microsoft account. There are three ways to receive an authentication code.

The first is via text message to a phone number that you register on your account. The second is to have it sent to the email address registered on your account. The most convenient way for us Windows Phone users is to download the Authenticator app released in 2013.

Setup the Authenticator app for your smartphone

Authenticator is much like one of those electronic dongles that you may have seen that generate number codes for security vaults. At any given time, you can open it up and see a six-digit code that you can use to verify your account login. That way, there is no waiting for a text message or email to arrive. Here is how to get it going:

  1. Download the Authenticator app for Windows Phone, Android, or iOS. (Download link below with QR code)
  2. Login into your Microsoft account at https://account.live.com
  3. Choose 'Security & Password'
  4. Scroll down to 'Identity verification apps'
  5. Select 'Set up' and choose your smartphone platform. You should see a QR code on screen.
  6. Open the Windows Phone app and hit '+' near the bottom
  7. Under Add Account either enter in the information or use the middle camera button to scan the QR code from your Microsoft Account

Once you use the phone's camera to scan the QR code, the Authenticator will begin generating new authentication codes every 30 seconds. When requested by a login for your code, you will have to enter the generated code within that 30 second window or it will be invalidated.

Downsides with two-step authentication?

As expected, adding an extra layer of security means adding an extra layer of "stuff" to do when logging into your Microsoft Account for the first time. Everything from logging into Skype to OneDrive, even your Xbox One, will require you to insert an authentication code the first time you are setting it up (after that, you can have it remember your credentials). If you have multiple devices, this tasks becomes exponential. However, due to the benefits of locking down your account using this method, it is still recommended. You just need to adjust your habits going forward so be prepared to use that Authenticator app a lot (or have unlimited text messaging on your plan).

Conclusion

It is crucial to keep your accounts safe. While not everyone can be a cyber-security expert, two-step verification is one of the easiest ways to do that. These days most online services, like email and social media, offer this option, so there is no reason not to do it. Unless a hacker (for lack of a better term) has a particular reason for targeting you, they will likely go for the low-hanging fruit. So by adding an extra layer of security, it will deter them to move on to the next account.

If you would like to read up more on Microsoft's two-step verification, you can check out their Frequently Asked Questions.

512MB RAM devices supported

Download this: Custom Cortana ringtones and app notifications for your Windows Phone!

$
0
0

Microsoft's Cortana is winning the hearts and minds of users lucky enough to have the personal assistant on their Windows Phone. One feature we know people would really like to have is the ability for Cortana to read out notifications for incoming alerts. For instance, imagine if Cortana could announce a phone call and even the person calling when your phone rings.

Redditor clang_ley has made your dream one-step closer to reality by creating 19 Cortana ringtones and notifications hosted on their OneDrive account. The notifications range from various email scenarios, like work or school, to Facebook and Skype messages. The MP3 clips say things like 'Somebody messaged you on Facebook' or 'Chief, someone is calling you' all in Cortana's distinctive voice.

The notifications are indeed clever and for your Halo / Cortana buffs out there, these are necessary for your Windows Phone!

To get them on your device, you can download them to your PC and use the Windows Phone app for Windows to transfer them over using the 'Add Ringtones' feature.

Via: reddit

How to install apps on Xbox One

$
0
0

Install Xbox One apps

While you probably use the Xbox One mostly for gaming, there are other uses for it thanks to apps. Yes, you can install apps on your Xbox One. Don't know how to do it? We'll show you how. Go watch our video.

  1. Go all the way to the right on the Xbox One dashboard. It's quicker when you press the RB button on your controller a few times.
  2. Select Apps.
  3. You can check out which apps are featured, popular, or new.
  4. If you see something you like, select the app and press A on your controller.
  5. Read the description of the app and view its images. If you like it, press the Install button.
  6. That's it! You can press and hold the Xbox button on your controller when the download finishes to quickly launch the app.

Next time you want to open the application, you can select "My games & apps" from the dashboard and find it from there. For faster access, you can pin it to the dashboard. Press the menu button on your controller and select "Pin to Home"

Xbox One apps

You can also install apps on your Xbox One from your Windows Phone. You'll need the Xbox One SmartGlass Beta app.

  1. Tap the hamburger button on the top left corner
  2. Tap the Store and keep swiping until you see Apps.
  3. Apps are sorted by popularity or release date.
  4. Select the app you want and tap the green button. It may say 'Get it free' or mention a price.

If you already know the name of the specific app you want to install on your Xbox One, it's faster to use the search form. You can do this either on the Xbox One or the SmartGlass app on your phone.

What are some of your favorite apps on the Xbox One? Let us know in the comments!

Using Windows Update to install new builds of Windows 10 Technical Preview

$
0
0

You've probably heard that Microsoft released its first build update to Windows 10 Technical Preview today, which adds the Action Center and Battery Saver, amongst other things.

It is the first of what will be many updates to come. In fact, there's already a small patch out for the build that was just released today. For that reason, it may be helpful to know how to go about upgrading your version of Windows 10 to the latest release.

Here's how.

  1. Click on the Windows Start button, then type "Windows update" in the search field.
  2. Click on Windows Update settings.

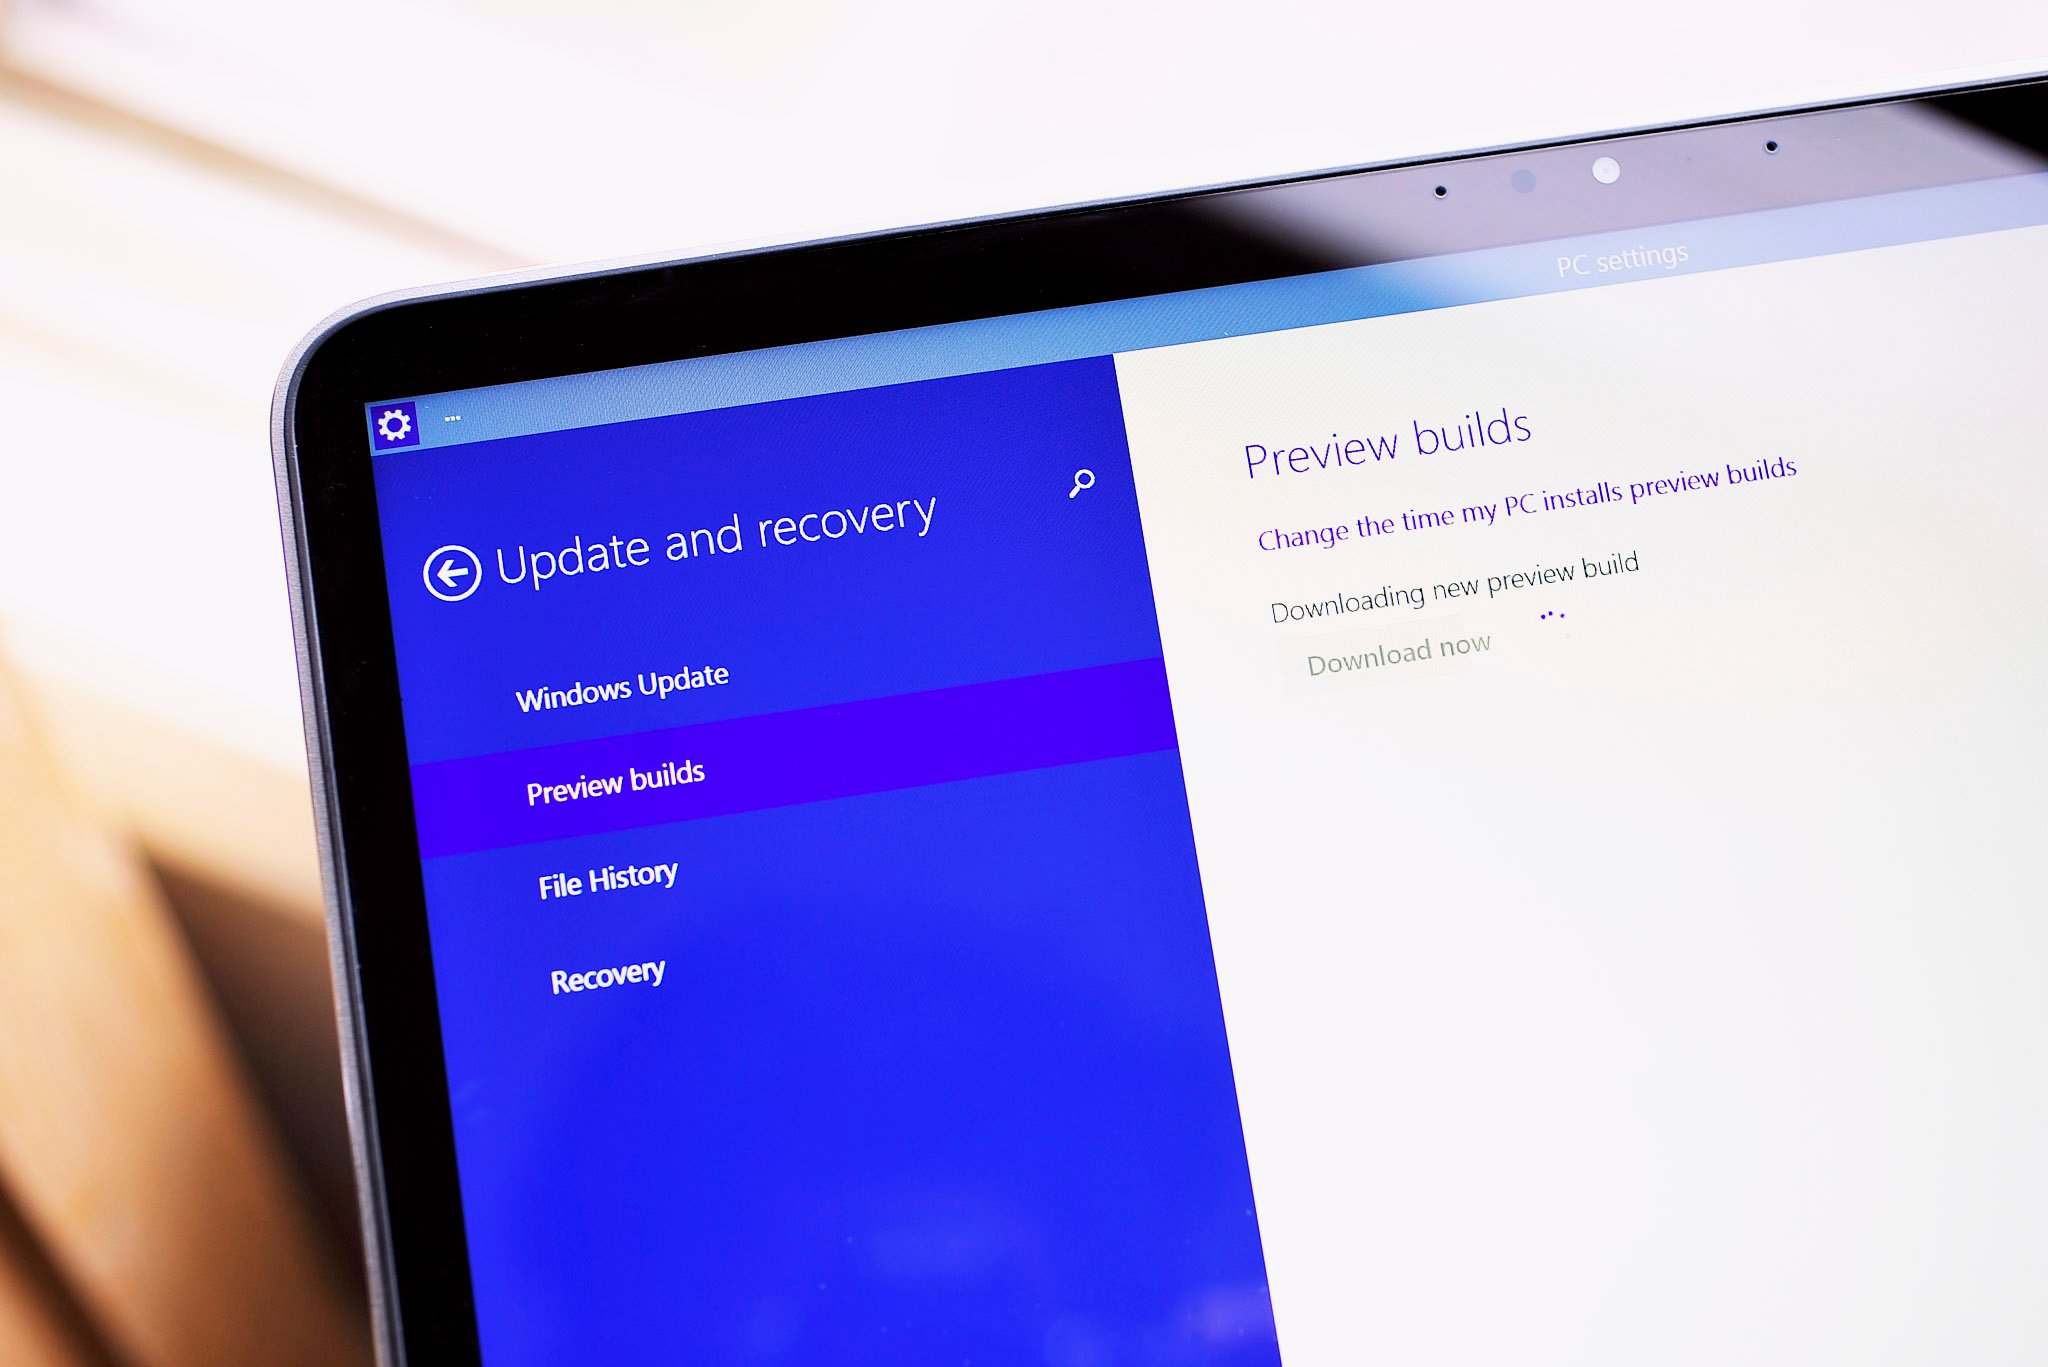
  1. In the Windows Update settings, click Preview builds.
  2. Click Check now
  3. Once it finds that there is a new build available, click Download The update will start downloading. It's pretty large, so just be patient.
  4. Eventually, you will have the option to Install the new build.

Another new feature in build 9860 of Windows 10 is the ability to choose how fast or slow you receive new builds. People who elect to receive them faster get newer features sooner, but at the risk of getting buggier builds.

If you haven't yet installed Windows 10 Technical Preview, but would like to, be sure to check out our "How to."

Note that today's newer build of Windows 10 is not included in the ISO file for the Technical Preview. This omission means that after you download and install Windows 10 for the first time, you will then need to grab the new build/update by the method outlined in this article.

Related reading

How to set Lock screen notifications in Windows 8, Windows 10 and Windows Phone

$
0
0

Beginners' Tips Series!

One of the many conveniences that the Windows family of products offers is the ability to receive notifications from apps on your Lock screen. These Lock screen notifications appear under the time and date on your device and give you a quick glimpse of any new emails, updates, events, etc. The notifications await your acknowledgement without having to log in and open any apps.

In Windows, you are limited to a total of seven apps that can notify you via the Lock screen, while Windows phone keeps it to a maximum of five. Since some apps come with Lock screen notifications enabled by default, you could find yourself running out of options. So we threw together this quick guide on how to choose which applications appear on your Lock screen.

Windows Phone

If you want to pick and choose what apps show you notification on your Windows Phone 8 Lock screen:

  1. Go to Settings > Lock screen
  2. There you will see two sections: "Choose an app to show detailed status" and "Choose apps to show quick status."

The first is great for something like a calendar, as it not only shows you that you have an event, but what the details of that event are. Tap the drop down box underneath and select which app you want.

The second section is best suited for email accounts, social media accounts and other apps that will just tell you that something has been updated and that you should open the app to check it out.

Here you can choose up to five apps. Tap any of the boxes to choose an app. The order that they show in the settings is the position they will appear on your Lock screen. Note, it is up to the developer of the app whether or not to include Notification support for the Lock screen!

Windows 8 and Windows 10

Windows 8 and Windows 10 have the same Lock screen functionality as Windows Phone but give you the option to choose up to seven apps instead. To set this up:

  1. Open the Charms bar, and then select Settings.
  2. Select Change PC Settings.
  3. On the Personalize screen, click Lock screen.

  1. In the Lock screen settings, you will see a section called Lock screen apps.

Here you have similar options as Windows Phone. You can choose and app to show detailed information on your Lock screen, as well as seven to show quick status.

In addition, you can choose an app to show you alarms. This choice takes up one of your seven quick status slots but adds the ability to snooze or dismiss the alarm right from the Lock screen without having to unlock the computer.

That does it. Now go forth and set your Lock screens for maximum efficiency. Need more help? Dive into our Windows OS forums to get some advice, ask questions and more!

Be sure to let us know if you have any other tips on Windows notifications in the comments below.

How to stream YouTube videos from Windows Phone to the Xbox One using Tubecast

$
0
0

Tubecast

Windows Phone users currently do not have an official YouTube application, but there are third-party apps available. One of those awesome apps is Tubecast, which we've recently reviewed. If you haven't installed it yet, you definitely should. It has an amazing feature that lets you "cast" videos from your phone to the Xbox One. Don't believe us? We'll show you how it works.

Tubecast has such a beautiful user interface that you should check it out even if you're not a fan of YouTube videos. The layout for the thumbnails, titles, and descriptions are well thought out. When you are watching a video, take a closer look at the icons on the top right corner. The icon on the right is the one that will let you "cast" or stream the video to your Xbox One. This works as long both devices are on the same Wi-Fi network. This also works with Chromecast or other devices that support UPNP/DLNA protocol. Most recent TVs and SmartTVs are supported.

After tapping the cast button, a list of supported devices are shown. Tap on the Xbox or another device you prefer and the video will start playing there. Depending on the device, you can control the volume and or move the playhead.

Tubecast icons

You might have noticed that there is a number on the cast button. Tubecast is a free download from the Windows Phone Store, but it is limited to 20 casts. You can unlock the app for $1.99 to cast as many videos as you want. That's the only difference between the free and Pro versions of Tubecast. Everything else is the same.

Casting with Tubecast works really well and it is an excellent third-party app for YouTube overall. Have you tried it?

512MB RAM devices supported

QR: Tubecast

Samsung ATIV S getting Windows Phone 8.1 Update? Kind of

$
0
0

Starting about ten days ago, reports that Samsung was pushing out Windows Phone 8.1 Update for ATIV S users began circulating the 'nets. We have our own ATIV S here in the house, which is an unbranded UK release, and were not able to get any such update. Instead, we are stuck on Windows Phone 8.0 GDR3 (Build 10517; Firmware 2424.13.10.1).

As it turns out, a very select few ATIV S users are getting Windows Phone 8.1 Update (Build 14157; Firmware 2424.14.9.3), which is splendid news. The bad news is it is isolated to specific regions like Austria and maybe Hong Kong.

Samsung ATIV S devices released through carriers and most other areas are not seeing the update yet, although obviously this can change. Let me try and explain and give you the full story.

Downgrade from Preview for Developers?

In the past, we warned against ATIV S and ATIV SE users installing the Preview for Developers program OS releases. Specifically, Windows Phone 8.1 without proper Samsung firmware does not always play nice. Users have experienced problems with the camera and other quirks, and while they are not the end of the world, they can be annoying.

There are a few threads in our forums discussing how to downgrade your ATIV S, although it appears that those with Preview for Developers who are in the right region are now getting the proper Samsung firmware. It is advised not to downgrade your phone (which also factory resets), unless you really want to get the firmware and Windows Phone 8.1 Update right now.

CSC: ATO. Wait, what?

Perhaps the most confusing aspect of this Samsung case is trying to understand which ATIV S models are getting an update.

As of now, the only version confirmed as getting an update is the I8750 with ATO configuration, mostly isolated to Austria. This designation comes from the CSC (Consumer Software Customization) and is a regional-code. For instance, TGY is Hong Kong, and my unbranded UK ATIV S is OXA.

Users can check their CSC often by installing the Samsung Diagnosis app by typing ##634# in the dialer. The Diagnosis app can then be found under the App list and entering *#321647335 inside the Diagnosis app should reveal information about the CSC code.

What it all really means

At this point, unless you are hardcore about downgrading your phone and switching the CSC code, you should just wait like the rest of us.

In short, go into Settings > Phone update and check for updates. If nothing happens, you are still waiting, welcome to the club.

On the bright side, Samsung is slowly starting to get 8.1.1 out to users with some positive feedback about the new firmware. Conversely, for the majority of users, especially those with carrier-branded phones in Canada and elsewhere, are not getting this update as of today.

If you would like more information about downgrading, CSCs, and various versions of the ATIV S, you can head into our forums where there are quite a few threads discussing the news. There are some great folks in there answering many questions.

Small warning though. A lot of this is only for those who are well informed and technical, so proceed with extreme caution. Your best bet is to read it (especially this post), understand it, and then post your question. Otherwise, just wait until Samsung pushes out your update.


How to disable the new window animations in Windows 10 Technical Preview

$
0
0

Beginners' Tips Series!

If you have been keeping up with the news on Windows 10 Technical Preview, you have seen a plethora of new features, both functional and aesthetic.

Amongst the latter, is the new animation when opening and closing windows. These arrived as part of the latest version, Preview Build 9860. Reception of the look has been mixed. Some people find the animation to be snazzy while others are just annoyed by it.

Depending on where you fall on this matter, you may want to disable the window animation. Here's what you do:

  1. Open PC Settings by going to the Charms bar, and then selecting Settings> Change PC settings.
  2. Select **Ease of Access*.
  3. Select Other options
  4. Toggle the switch next to Play animations in Windows

These same steps will work for disabling animations in Windows 8 as well.

Got any other tips for tweaking Windows 10? Chime in down below in the comments.

How to get your iTunes music on your Windows phone

$
0
0

Beginners' Tips Series!

Let's say that you have been an iPhone user for some time and recently decided to dip your toe into the Windows Phone waters. Chances are that one of the first things you want to do is get all of your music onto your new phone.

As an iPhone user, you either downloaded all of your music directly your device from iTunes, or moved it onto it by using the iTunes desktop application. Now what? You have all these tunes sitting in an application that doesn't know what a Windows phone is.

This situation was bound to happen, so Microsoft put together an easy way to pull your music and playlists from iTunes and onto your Windows phone.

One thing to keep in mind is that files that are DRM-protected will not be able to be ported onto your phone. There are ways to convert these files to unprotected versions, but we will not be discussing that here.

On a Windows computer

This first method is probably best to use if you want to continue using iTunes to manage your music collection, or if you consider yourself to be a novice when it comes to technology.

  1. First, you need to download and install the Windows Phone app for Desktop.
  2. Click on Settings in the top right corner. (Alternatively, upon installation, the program may walk you through this process automatically the first time)
  3. Under Sync music, videos, and more from, select iTunes.
  4. Your music and other media will show up in the Windows Phone app for Desktop, allowing you to choose what to sync with your phone.
  5. Next, make sure Sync music has a check in the box next to it.
  6. Check the boxes next to the genres, bands, and/or albums that you want to sync with your phone
  7. Click the Sync button and watch the magic happen.

If you are making a clean break from iTunes and/or want to manage your music with another application, or just as files in folders, then this is quick and easy. You will need to know where your music files are stored.

Chances are, you will see them in your Music Library. If your music was all purchased from iTunes, you may also find it in C:\Users\"your name"\My Music\iTunes\iTunes Media.

  1. Locate the place on your computer where your music is stored.
  2. Open Windows Explorer (on Windows 7) or File Explorer (Windows 8 or 10).
  3. Your Windows phone will show up as a device in the left pane.
  4. Click on your phone on the left, then on the hard drive icon.
  5. Inside you will see a Music folder.
  6. Copy/Paste the files from your music folder on your PC to the Music folder on your phone

On a Mac

  1. First, download and install the Windows Phone app for Mac.
  2. Now connect your Windows phone to the computer.
  3. In the sidebar of the Windows Phone app, choose Music
  4. Choose what you would like to sync, then click Sync

Similar to the second method described above in the Windows instructions, you can also drag and drop files manually from Finder to the sidebar in the Windows Phone app.

There are plenty of things you will want to set up and tweak when making the move from an iPhone to a Windows phone, but it should be reassuring at one of the most important things is easy to do. You can also use the apps and steps above to move other things like videos, podcasts, pictures, etc.

If you've already made the move from iOS to Windows Phone, what do you wish you knew how to do? For those of you early in the transition, is there anything we should cover? Let us know in the comments section and we'll do our best.

How to pair the Microsoft Band with the iPhone

$
0
0

Microsoft Band

What makes the Microsoft Band really cool is that it supports multiple platforms. It works with iOS, Android, and Windows Phone. Have an iPhone? We'll show you how to set up the Band with it. Watch our how-to video.

  1. Connect the magnetic charging connector on the USB charging cable to the charging port on the band and plug the USB end of the cable into a powered USB port (USB 2.0 or greater). This should wake up the Microsoft Band.
  2. On your iPhone, install Microsoft Health from the App Store.
  3. On your Microsoft Band, press the power button and tap Get Started.
  4. On your iPhone, open the Microsoft Health app and sign in with your Microsoft account. If you don't have a Microsoft account, tap Sign up now to create one.
  5. Go to Bluetooth in your phone's settings, and tap MSFT Band in the list of devices to pair.
  6. Accept the pairing on both the iPhone and the band.
  7. When the pairing is complete, go back to the Microsoft Health app to finish the setup.
  8. That's it! Press the action button (the button on the right on your band) to start using your Microsoft Band.

The Microsoft Band has just been released and it can be yours right now for $199.99. We'll have our review shortly, but in the meantime, let us know if you have any questions about this cool new device from Microsoft.

How to factory reset the Microsoft Band

$
0
0

If you need to start over, switch phones, or trying to solve a problem, you'll have to factory reset the Microsoft Band. Don't worry. The process is very simple. You also won't lose the data that you've already synced to the cloud. Follow these steps to bring your Microsoft Band back to how it was out of the box.

Prerequisites: Unregister and remove pairing

  1. On your phone, open the Microsoft Health app, and tap the Band icon
  2. Tap My Microsoft Band, tap unregister this band, and then tap ok.
  3. On your phone, remove Microsoft Band from the list of paired Bluetooth devices.

Unregister Microsoft Band

Reset Microsoft Band

  1. On your Microsoft Band, tap the Settings Tile, and then tap Power
  2. Swipe left, and under Factory Reset, tap Reset Device.
  3. Under Erase All Data, tap Yes.

Another way to reset

If your Microsoft Band is unresponsive, there's another way to perform a factory reset. Hopefully this doesn't happen to you, but my Band got stuck in the pairing screen and I didn't know what to do. I called Microsoft Support and they shared this nice little trick.

  1. Press and hold the Power and Action buttons on the Microsoft Band for about 10 seconds. The screen will turn off.
  2. Connect the Band to the USB cable to turn it back on.
  3. That's it!

Multiple Devices

It's a little inconvenient that you need to factory reset the Microsoft Band when switching phones. We don't imagine many people complaining about this, but it would be nice for the Band to be able to switch phones easily. Perhaps have a switch option in the settings? Nevertheless, a factory reset is quick and you don't lose data you've already synced to the cloud. Just don't forget to sync before you perform the reset.

We'll have a full review of the Microsoft Band very soon. Have any questions in the meantime?

How to use Cortana with the Microsoft Band

$
0
0

Cortana Microsoft Band

The Microsoft Band works with the iPhone, Android devices, and Windows Phone, but they don't all get Cortana integration. If you're running Windows Phone 8.1 Update, you can use Cortana on the Microsoft Band. How does it work? How does it look? We show you in our hands-on video.

In order for Cortana to work on your Microsoft Band, you need Cortana to be installed on your Windows Phone. If you press the Search button on your Windows Phone and see the Bing image of the day, Cortana isn't on.

To bring up Cortana, press and hold the Action button on your Microsoft Band for 2 seconds. You can use Cortana any time, even when the display is off. You do not need to tap the Cortana tile. Your phone must be nearby, however. Cortana uses the mic on your Microsoft Band to "listen" when you speak.

After you speak, Cortana opens on your Windows Phone and responds to your request. Depending on your request, it displays the response on the Band itself or it lets you know if you need to view your phone.

Cortana Microsoft Band

Things like setting reminders, alarms, creating notes, initiating calls, fact checks, sports scores, and chit chat are displayed on the Band without the need of looking at your phone. Some things like asking for directions or other information that cannot fit in the Band tell you to continue on your phone.

Need some ideas on what to ask Cortana? Try these:

  • Wake me up at 6 AM.
  • Remind me to get cash when I leave home.
  • Convert 1 US dollar to Philippine Pesos.
  • Add surfing to the beach to my calendar for Saturday.
  • Tell me a joke.
  • How many calories in a bagel?
  • Text Sam: Want to play FIFA?

The Cortana tile on the Microsoft Band sends notifications such as news, sports, reminders, etc. to your Band. You can turn off these notifications, but it does not turn Cortana off.

So while people on iOS and Android can use the Microsoft Band, they miss out on the Cortana integration available for Windows Phone 8.1 users. How do you feel about Cortana on Microsoft Band? Sound off in the comments!

Viewing all 5861 articles
Browse latest View live


Latest Images